Choosing how to share
Every share you make answers two separate questions: how much of the tree goes out, and how the person proves they’re allowed in. Pick one from each — that’s the whole system.
How much goes out
Whole tree, one person’s bloodline, or exactly what’s on your screen. People outside your choice are never sent at all.
Who can open it
Passcode only, Google sign-in, or both — never neither. A Simple share has no passcode: it is held by sign-in alone, which is why there is nothing extra to send. Both decisions describe a link; live access is not a link and has neither.
Where sharing starts
Share lives in the tree, not the dashboard
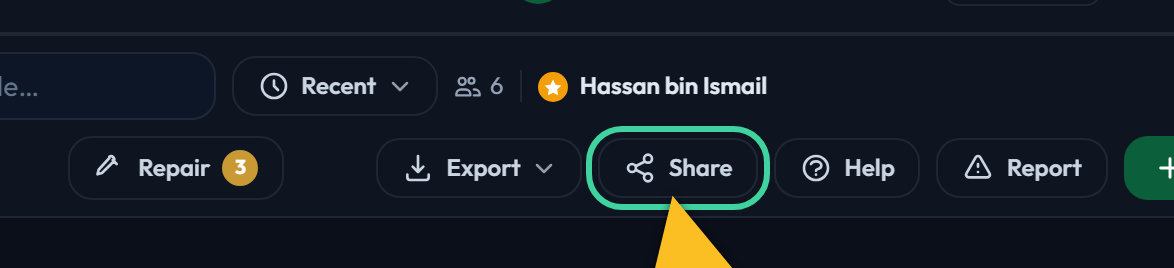
Open the tree, then press Share in the toolbar. There is no Share button on the dashboard tree cards: choosing how much to send needs the tree on screen, because two of the three options are defined by what you are looking at.
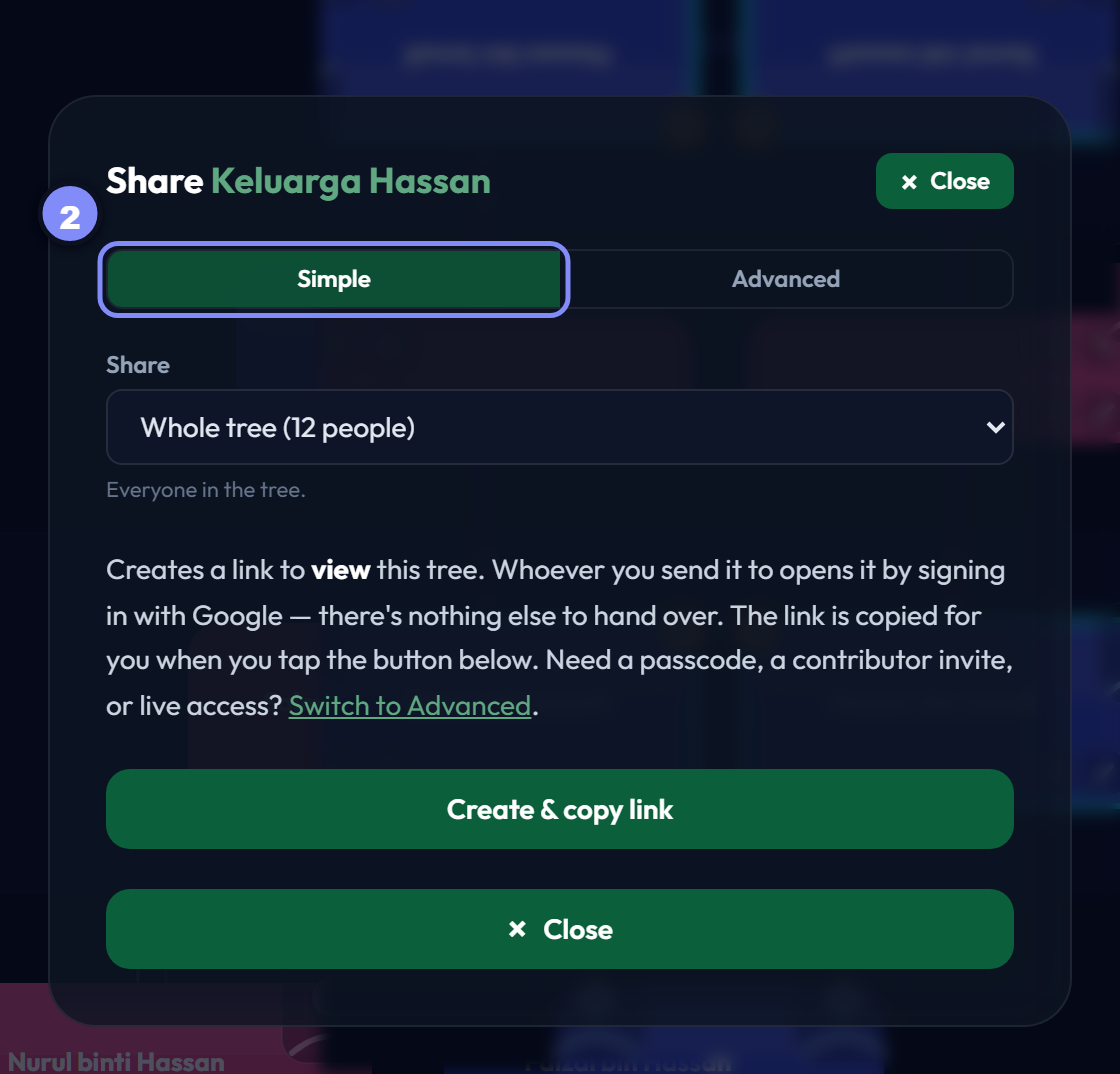
Simple decides both for you
If you do not want to think about it, stay in Simple and press the button. Simple always picks whole tree + Google sign-in, read-only. No passcode is set, so there is nothing extra to hand over — the recipient just signs in with Google.
Everything else in this guide is Advanced. Your choice of tier is remembered on this device, so switching once is enough.
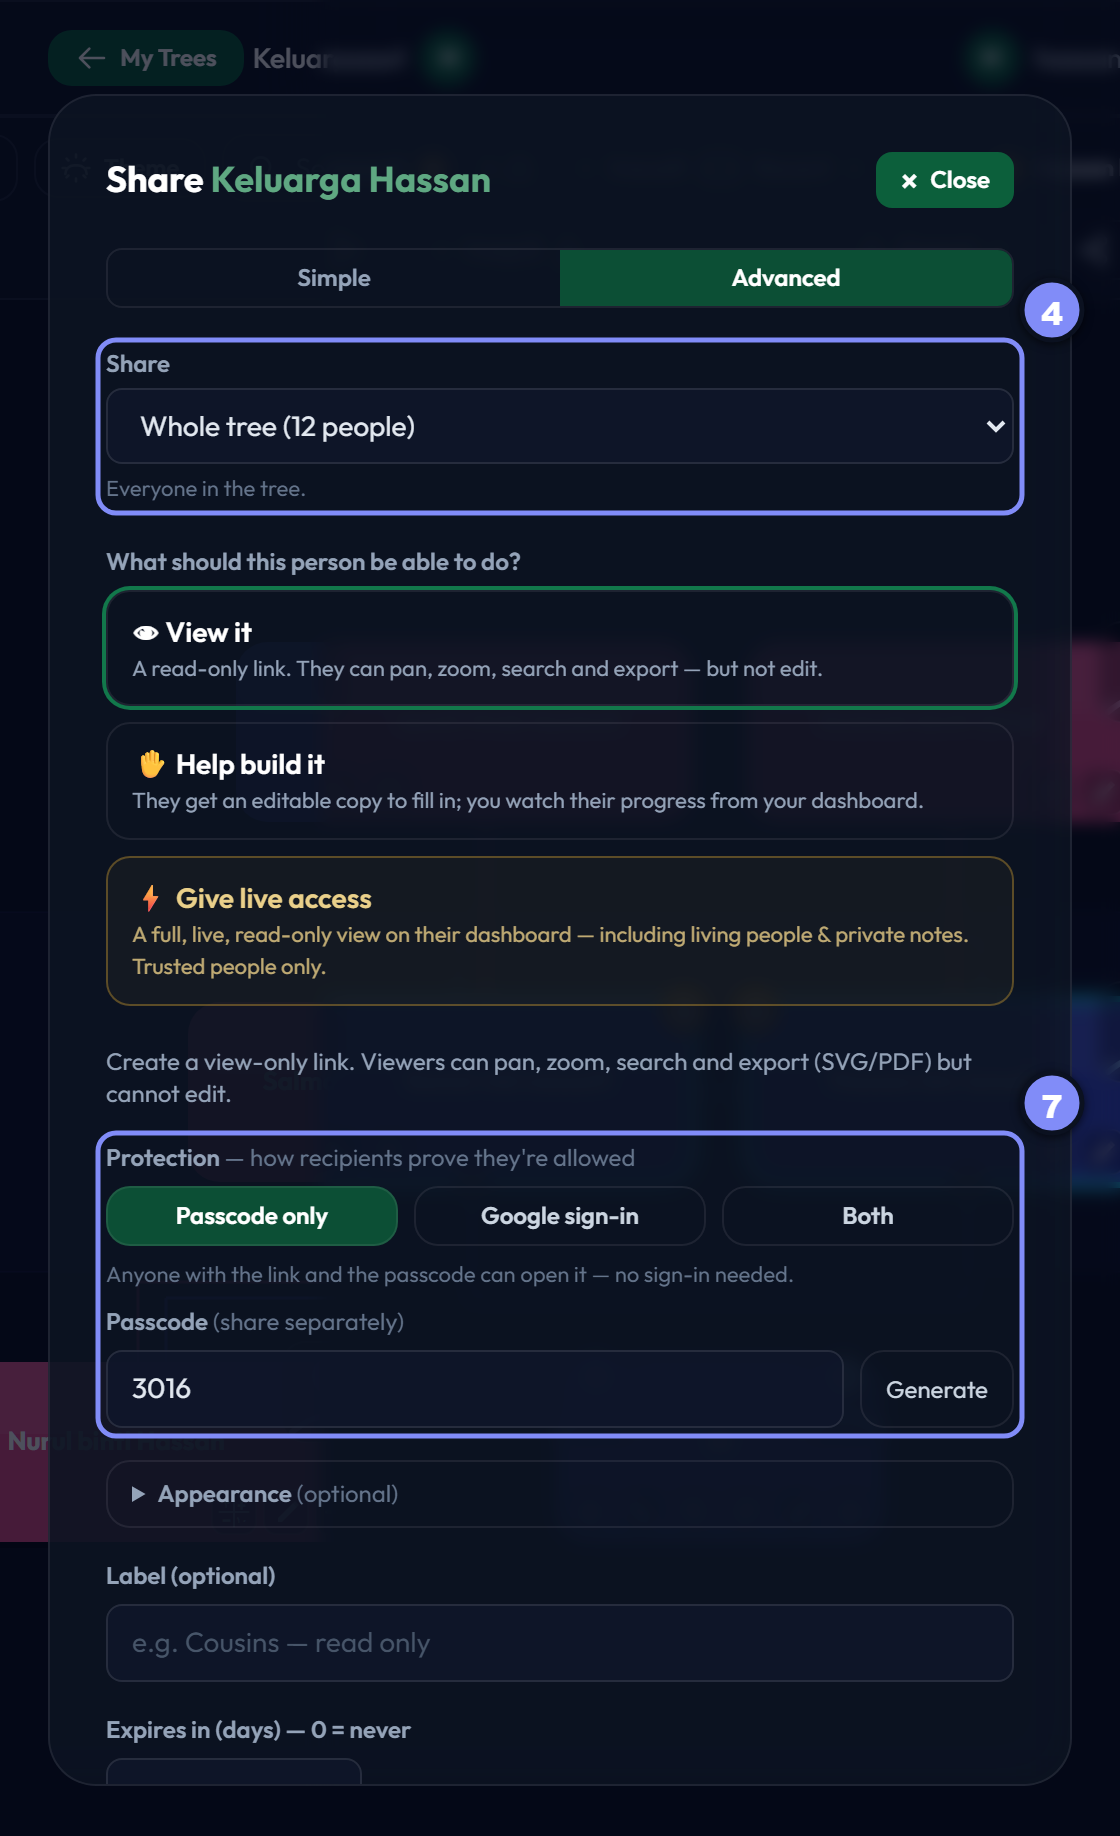
Advanced shows the two decisions
They sit at the top and the bottom of the same form, and they are completely independent — any scope works with any protection.
- Share — the scope. How much of the tree goes out (steps 4–6).
- Protection — how the recipient proves they are allowed in (steps 7–9).
Decision 1: how much goes out
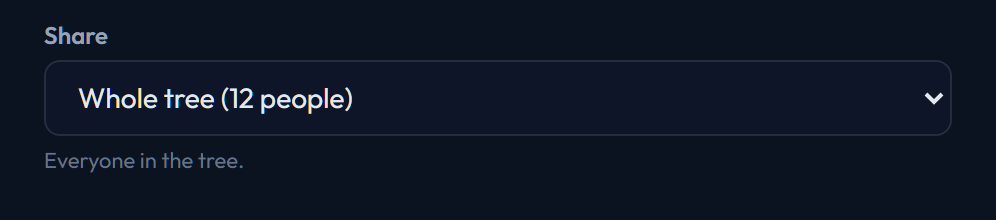
Whole tree
Everyone, including anyone you add later. This is the default, so one-tap sharing stays one tap.
Use it for the family group chat, or anyone you would be happy to show the whole tree to in person.
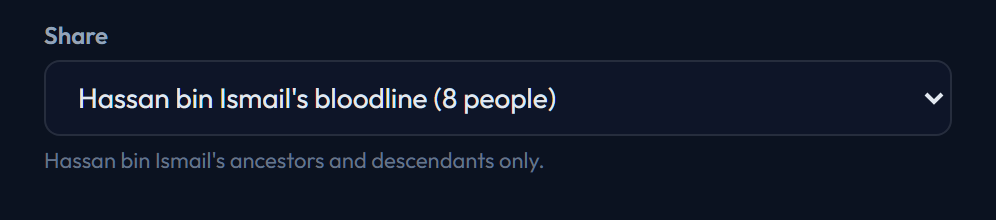
One person’s bloodline
That person’s ancestors and descendants, plus their direct spouses — but not the cousins, in-laws and side branches hanging off the rest of the tree. The person used is the tree’s subject, so change the subject first if you want someone else’s line.
Use it for one side of the family: they get their own line complete, and nothing about anybody else’s.
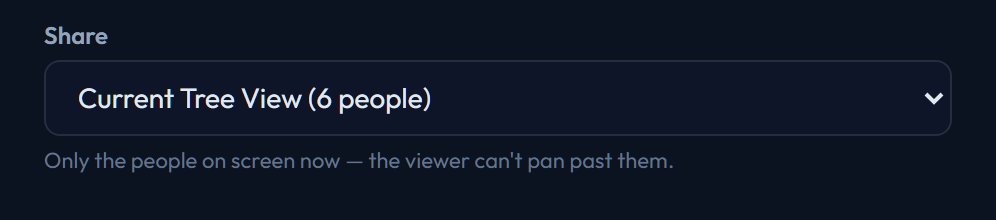
Current tree view
Exactly the people on your screen right now — whatever the generations window and the Show toggles have left visible. Set the screen up the way you want it before pressing Share.
Use it for a specific slice you have already framed: three generations, or one branch you were just working on.
Decision 2: who can open it
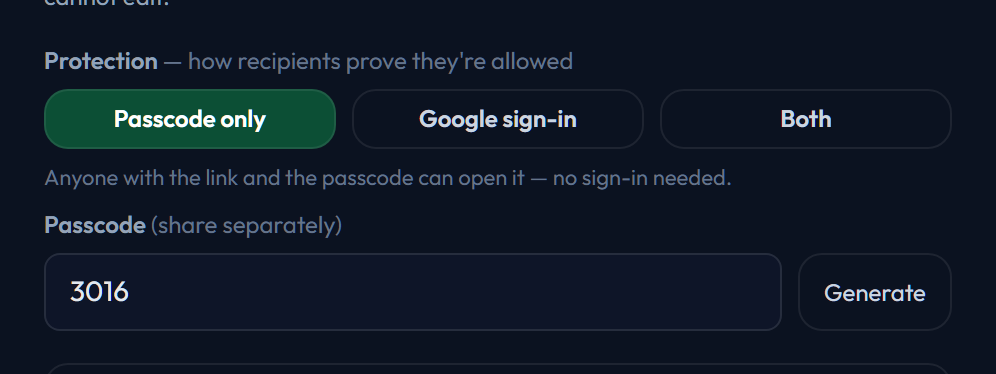
Passcode only — no account needed
Anyone with the link and the 4-digit passcode can open it. No sign-in, no Google account, nothing to set up.
Use it for older relatives, or anyone who does not have (or want) a Google account. Tap Generate for a code, and send it in a different message from the link — a link and its passcode in the same WhatsApp message is one forward away from being public.
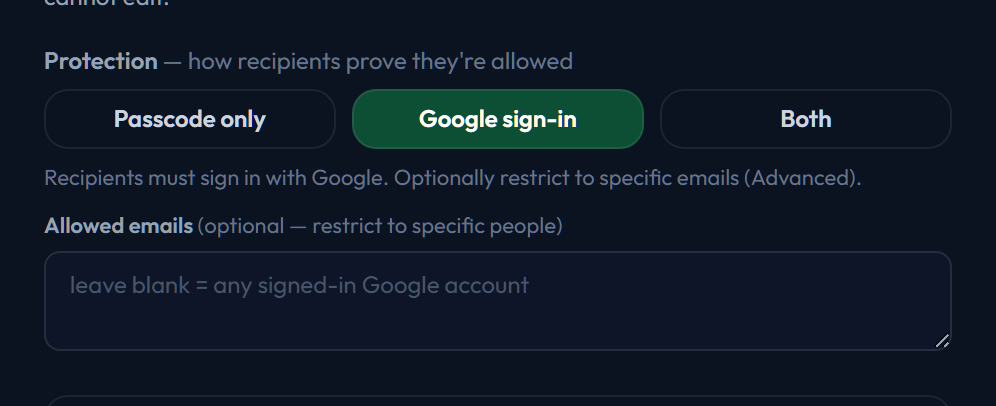
Google sign-in — nothing to hand over
The recipient signs in with Google. There is no code to send, remember or leak, and you can optionally list Allowed emails so a forwarded link still will not open for anyone else.
Use it for anyone who already lives in Gmail, and for anything you would rather not have travelling around as a plain link. Leave Allowed emails blank and any signed-in Google account can open it.
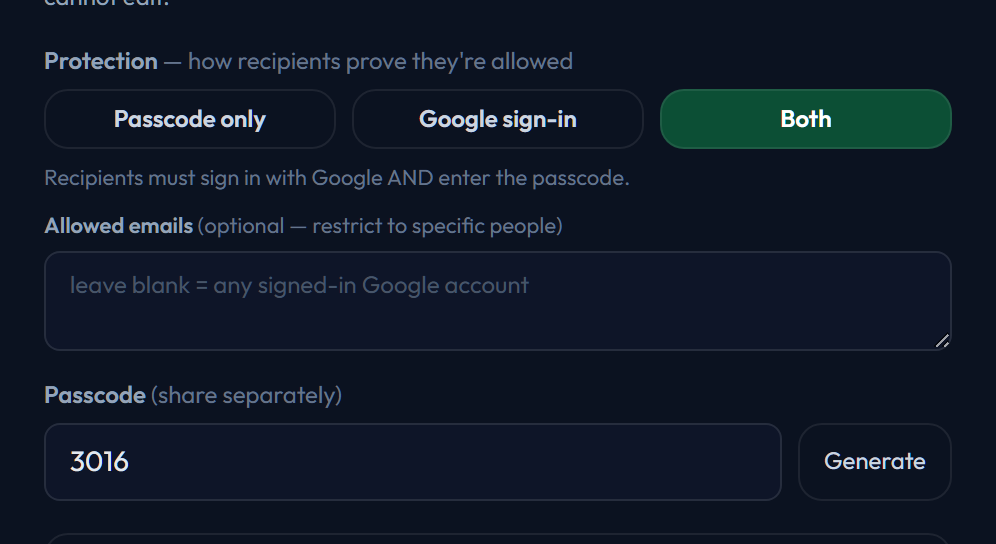
Both — sign in and know the code
The recipient must do both. Two independent things have to leak before a stranger gets in.
Use it for the sensitive shares — anything heavy on living people, or a link you expect to sit in someone’s inbox for a long time.
The third way: live access
Choose "Give live access"
It is the amber option in What should this person be able to do? — amber because it is the only choice that hands over everything.
Watch what happens to the form: the Share scope selector and the whole Protection block vanish, and Create link is replaced by Grant access. There is no link to make.
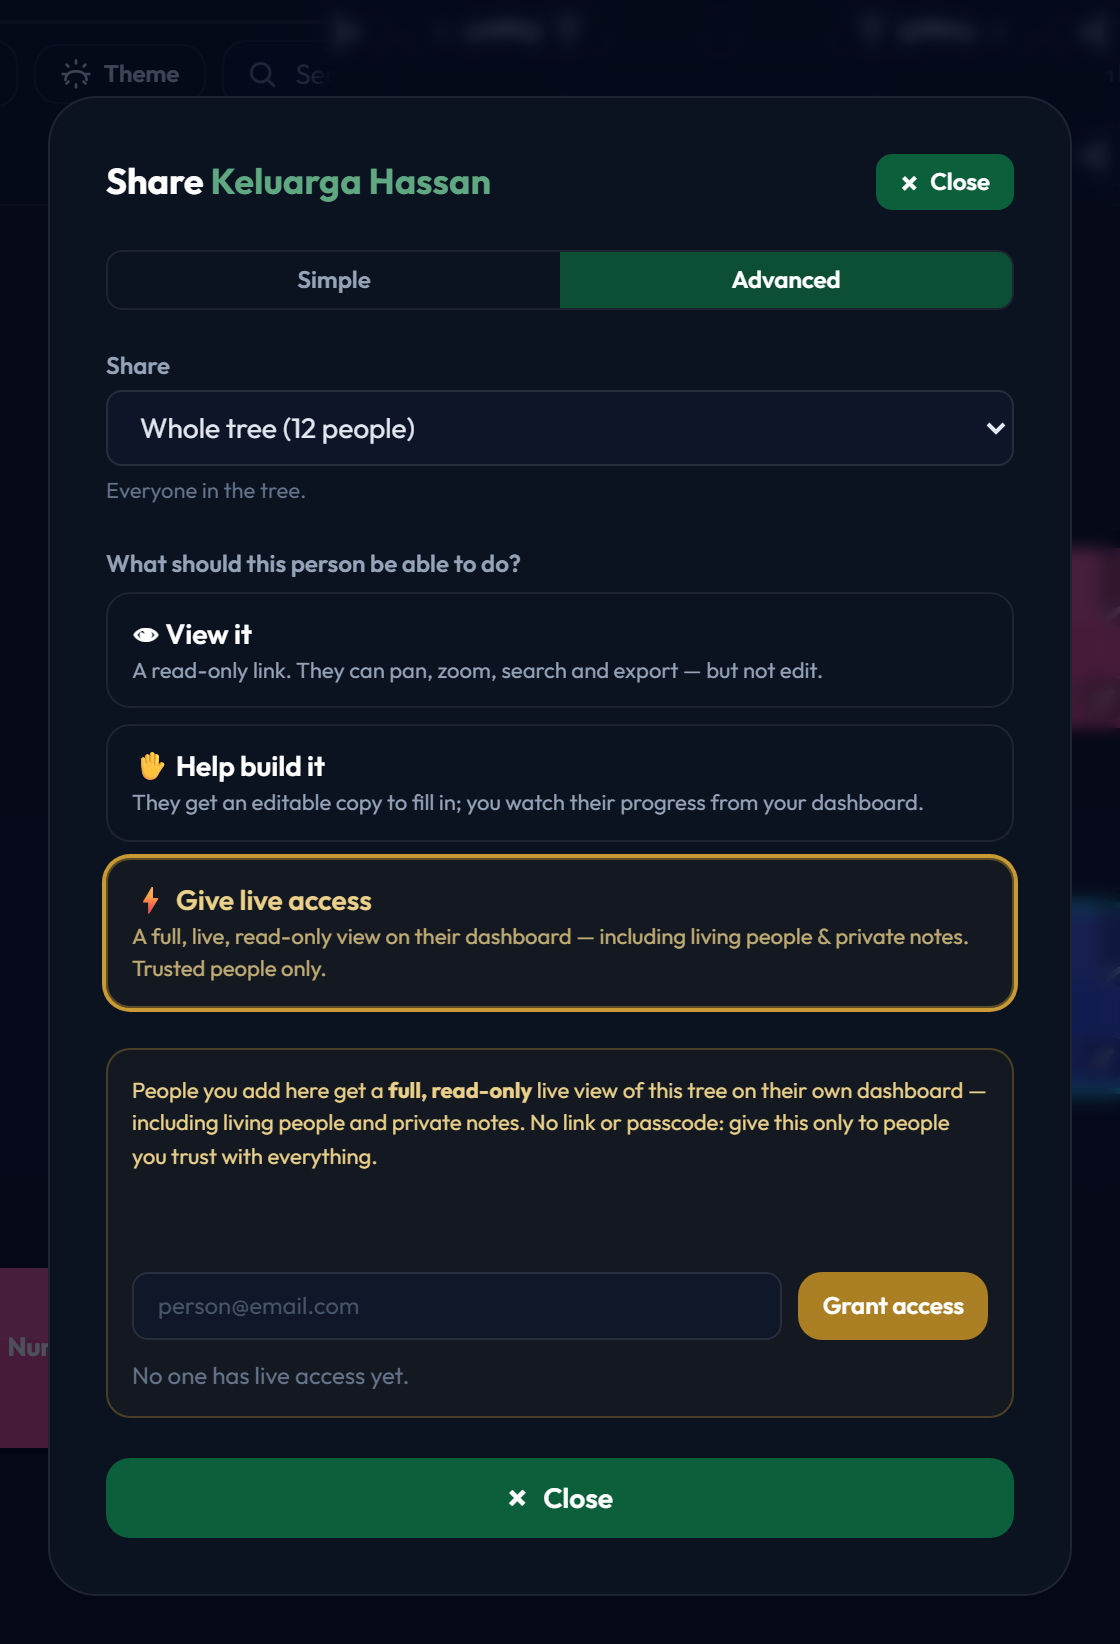
Grant it by email
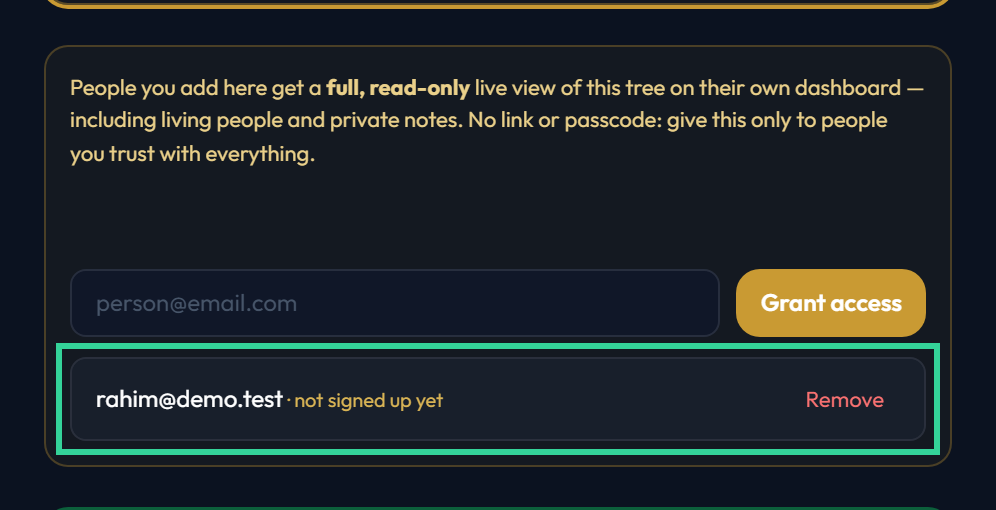
Type the Google address of the person you trust and press Grant access. Because the grant is tied to that one account, a forwarded message gets nobody anywhere — this is the most secure way to share, and the only one with nothing to leak.
They do not need an account yet. Until they sign in, the list shows them as not signed up yet, and the access is waiting when they do. Everyone you have granted is listed here with a Remove beside them, which takes it back immediately.
What they see
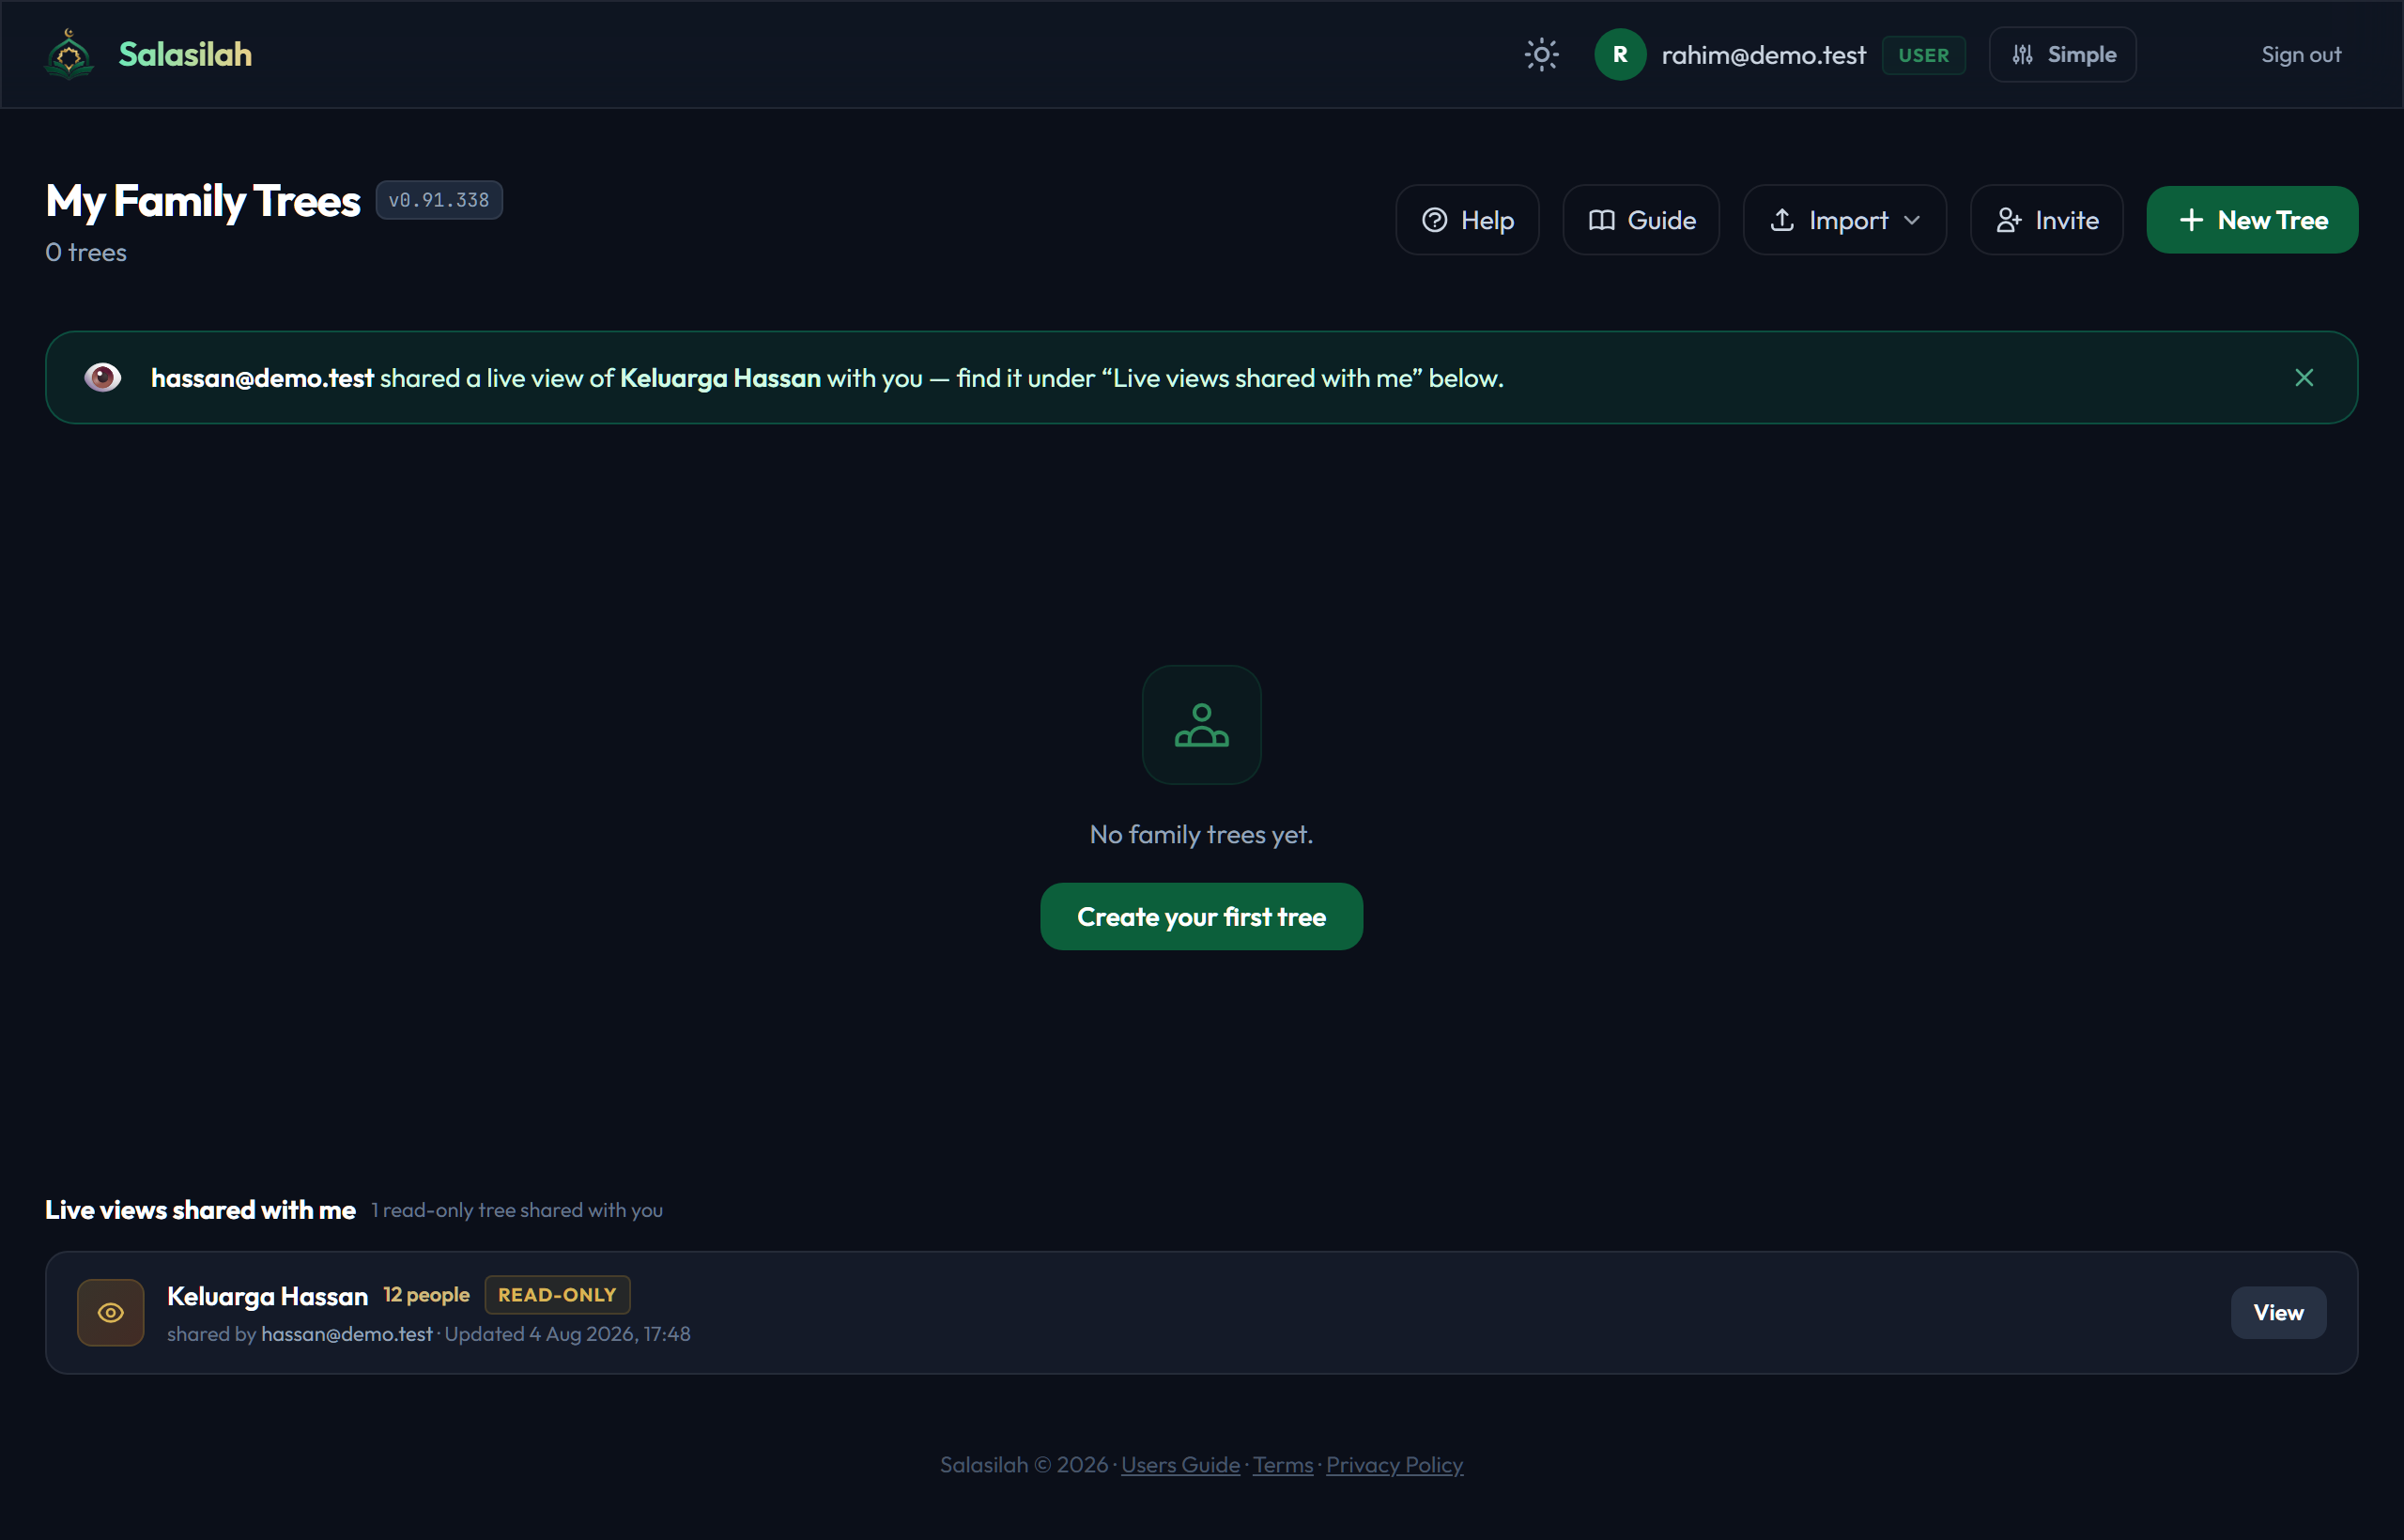
Your tree appears on their dashboard under Live views shared with me, marked READ-ONLY, with your name against it. They are told once, in a banner, that you shared it.
It sits apart from their own trees — they cannot edit it, and nothing they do touches yours. Every time they open it they get the current version, with no new link from you.
Putting it together
What you actually hand over
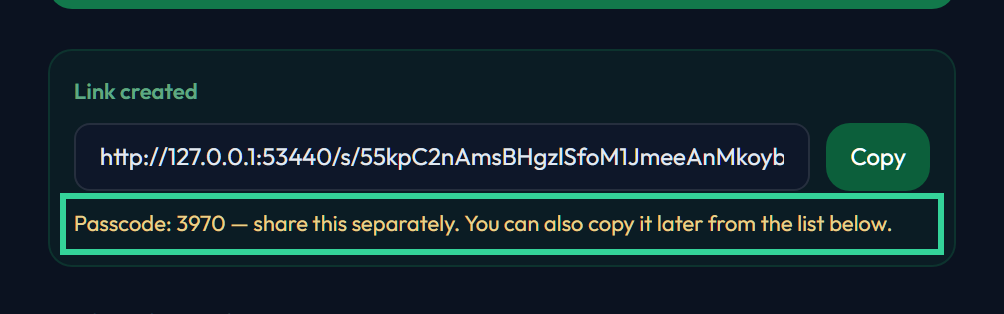
Press Create link. The link is copied to your clipboard straight away and shown in the box so you can copy it again. If your protection includes a passcode, it is printed underneath — that one goes in a separate message.