From a link to your own family tree
Someone sent you salasilah.ilpam.my/invite. This is every screen from that link to your finished tree — about two minutes, and you can skip any question you're not sure about.
You get your OWN tree
The link creates a brand-new family tree that belongs to you. Five questions seed it with you, your parents and your spouse; everything after that is yours to build.
Nothing is shared either way
This link does not give you access to their tree, and it doesn't give them access to yours. It's an invitation to join Salasilah, not a shared document.
Open the link and sign in
Open the link you were sent
The link is always the same address — salasilah.ilpam.my/invite. There's no code to type and no per-person link to keep track of, so it works whether it arrived by WhatsApp, email or was read out to you.
salasilah.ilpam.my/mohdsalleh is a join gate. The five questions below are
exactly the same, but your answers are also checked against that family's tree to see whether
you're a relative. Either way you end up with your own tree.Agree to the terms, then sign in
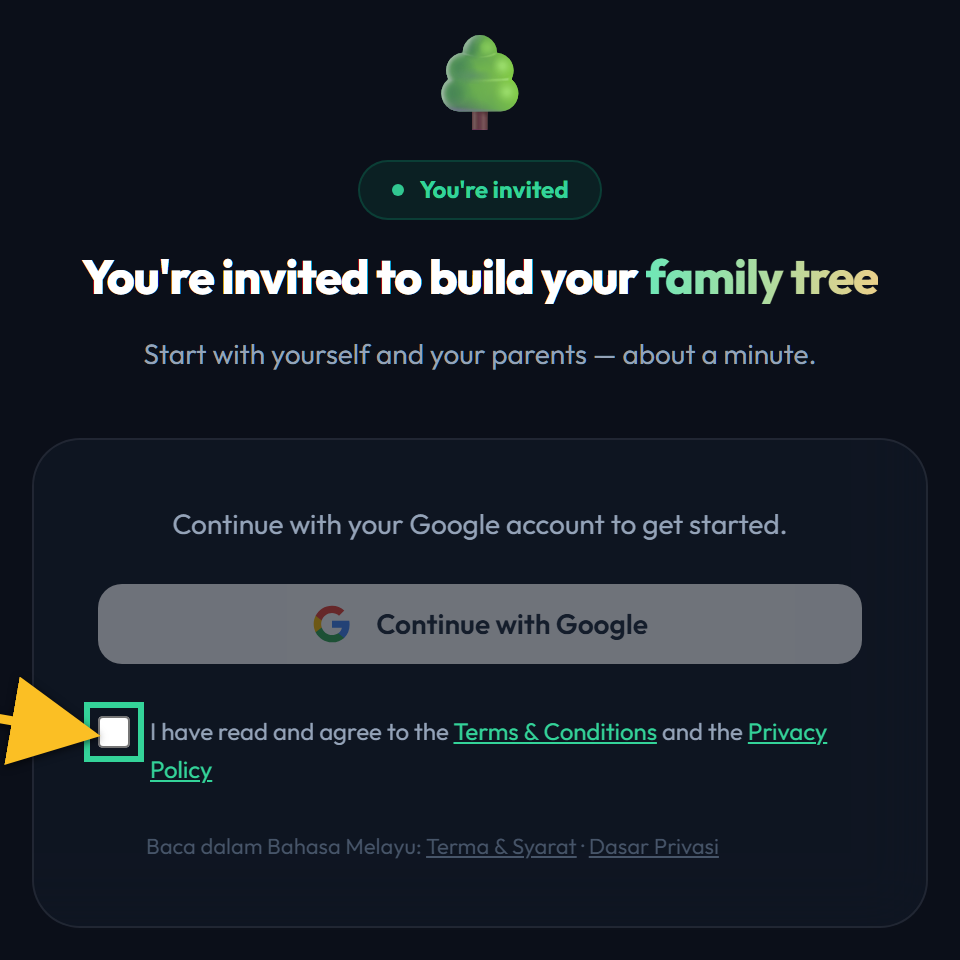
A welcome screen explains what you're about to build. Before you can sign in you must tick I have read and agree to the Terms & Conditions and the Privacy Policy — the Continue with Google button stays greyed out until you do. Both documents open in a new tab, and both are also available in Bahasa Melayu, linked underneath.
Ticking is a real consent, not a formality: Salasilah stores names and dates of living people, which Malaysia's PDPA treats as personal data.
Then pick your Google account on Google's own sign-in screen, and it sends you straight back. There's no separate Salasilah password to create.
Answer five quick questions
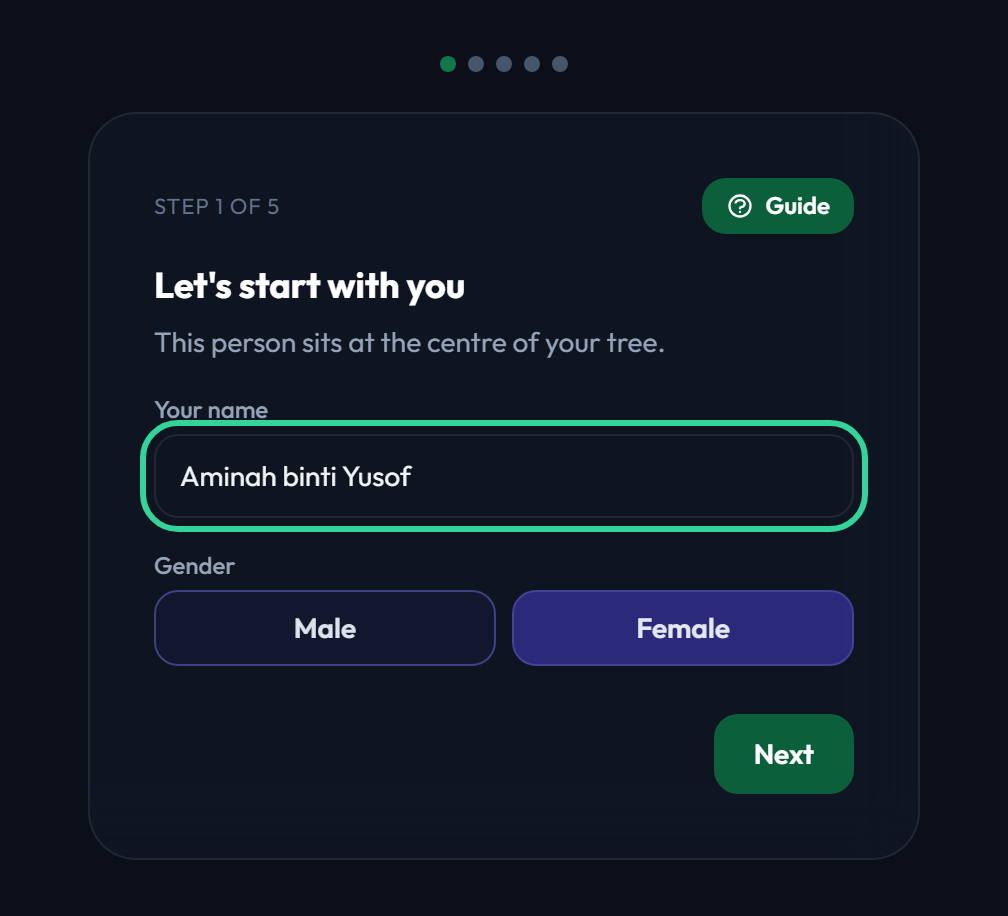
Step 1 of 5 — who you are
Your name is filled in from your Google profile; correct it if it's not how you'd write it in a family tree. Pick Male or Female — this decides where you sit among your relatives, and it's what makes the last question ask about a wife or a husband.
This person becomes the centre of your tree. Everyone you add later hangs off them.
Stuck on any step? Press Guide
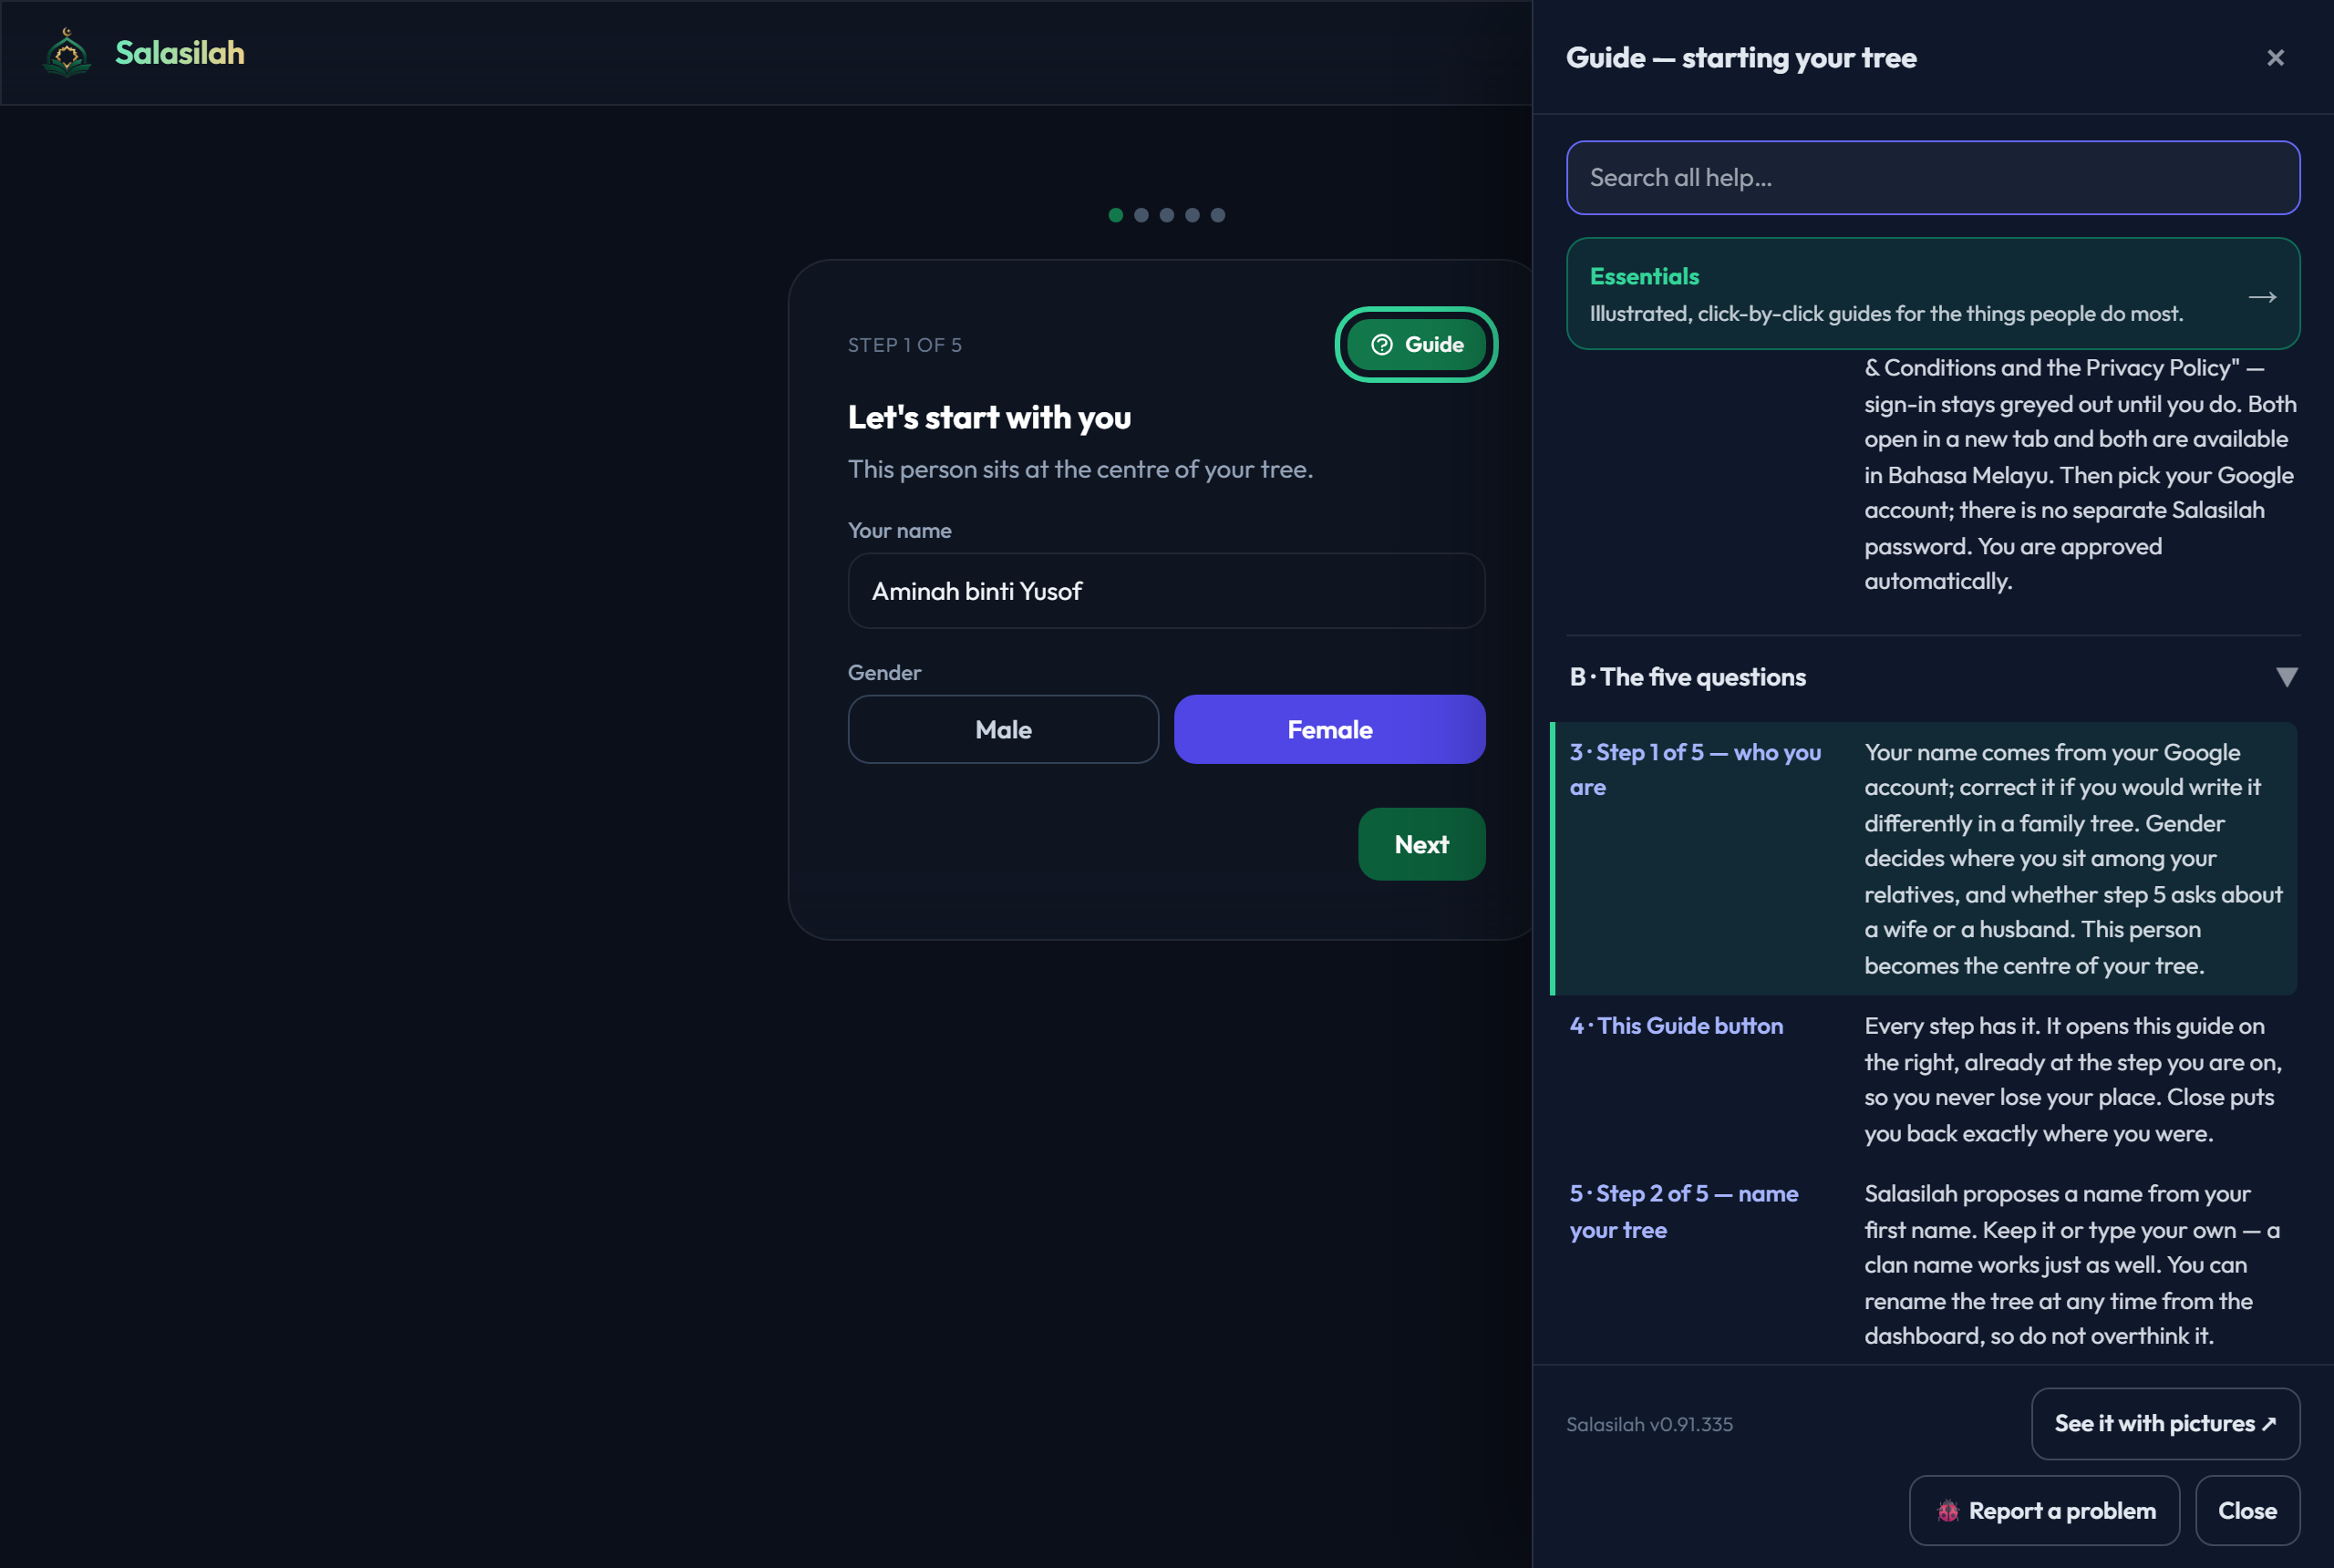
Every step of the wizard has a green Guide button beside the step counter. It opens this whole guide in a panel on the right, scrolled to the step you're looking at and marked with a green bar — so you can read ahead, look back, and keep typing without losing your place.
The panel is text only, because a screenshot of the screen you're already looking at is the least useful half. See it with pictures ↗ at the bottom opens this illustrated page in a new tab; Close puts you back exactly where you were. You can also search all of Salasilah's help from there, or report a problem.
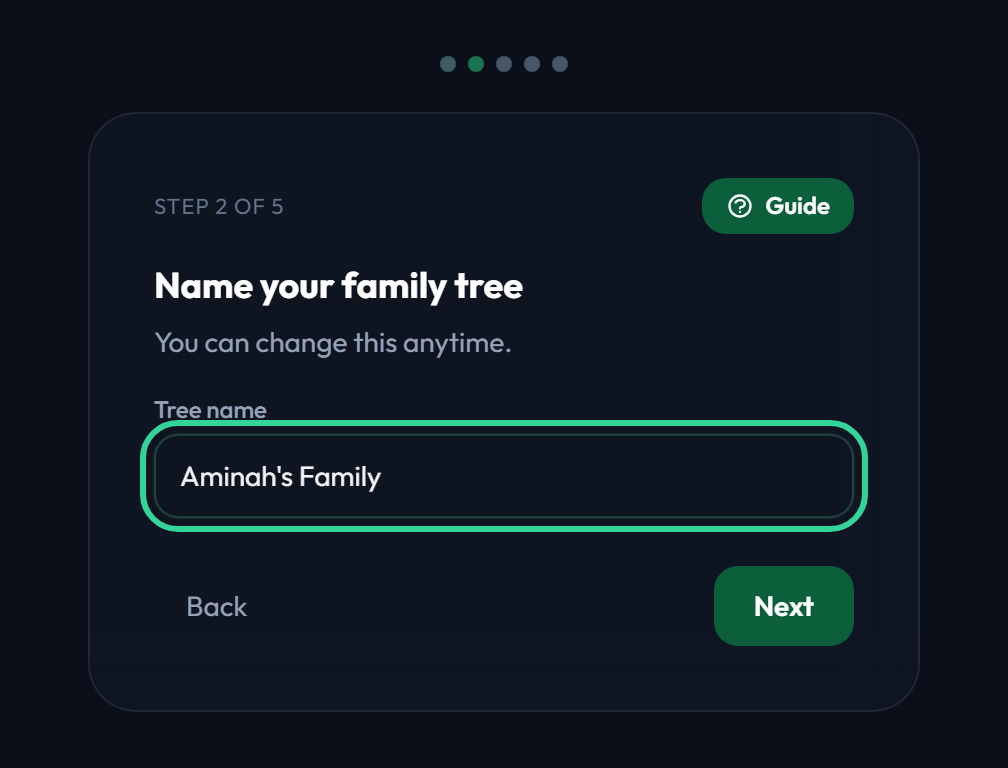
Step 2 of 5 — name your tree
Salasilah proposes a name from your first name — Aminah's Family. Keep it or type your own; a clan name like Keluarga Hj Hassan works just as well.
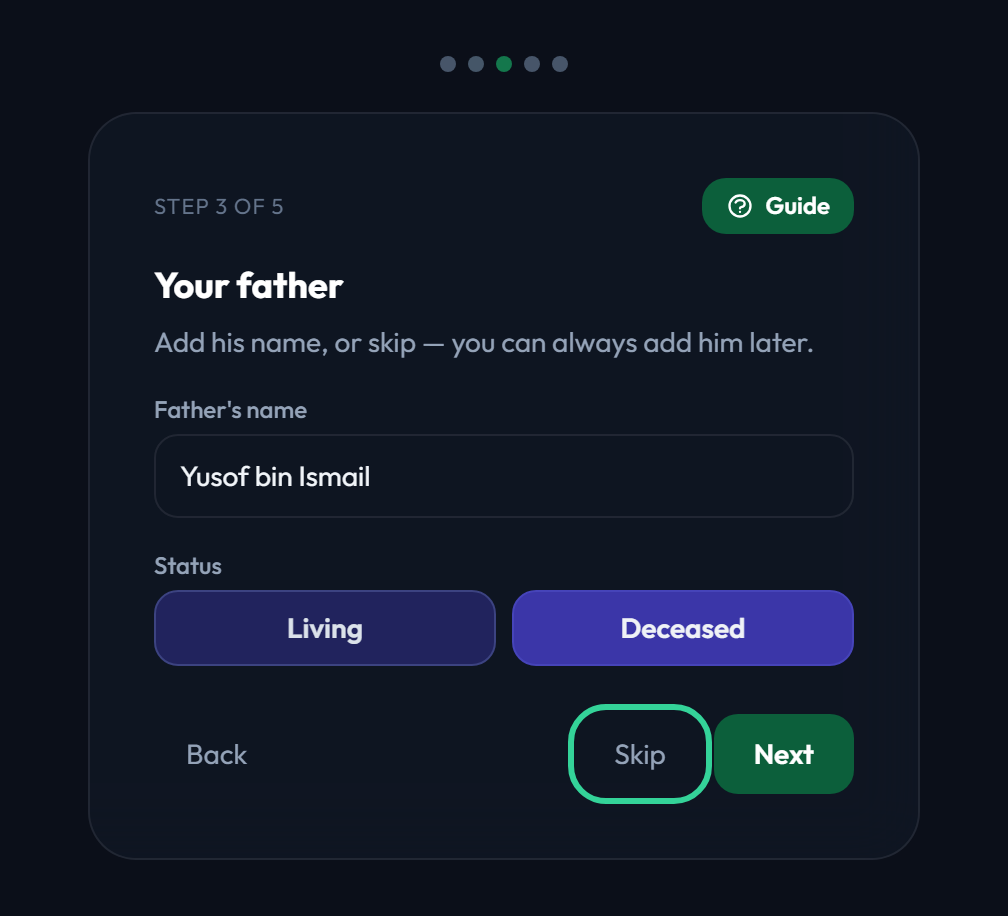
Step 3 of 5 — your father
Add his name and mark whether he's Living or Deceased. From here on a Skip button appears next to Next — use it freely. A skipped person simply isn't created, and you can add them properly later with far more detail than this screen collects.
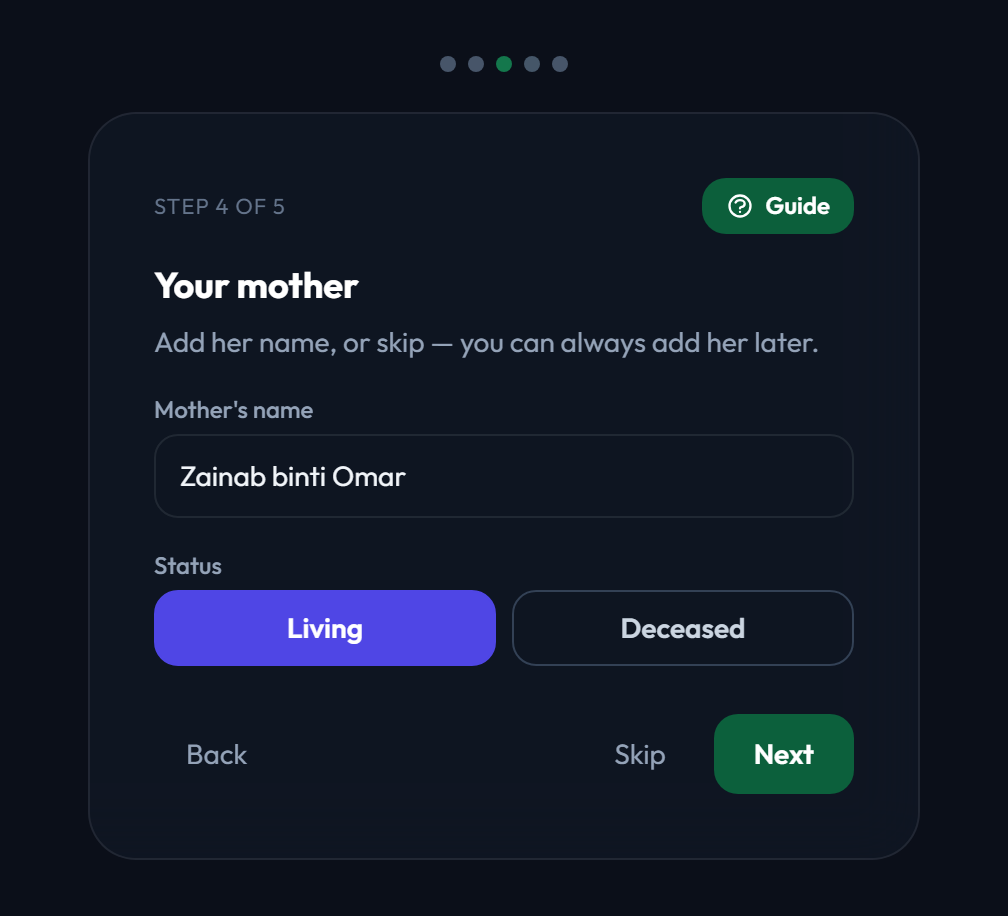
Step 4 of 5 — your mother
The same two fields for your mother. If you add both parents, Salasilah links them to each other as a couple as well as to you — you don't have to connect anything by hand.
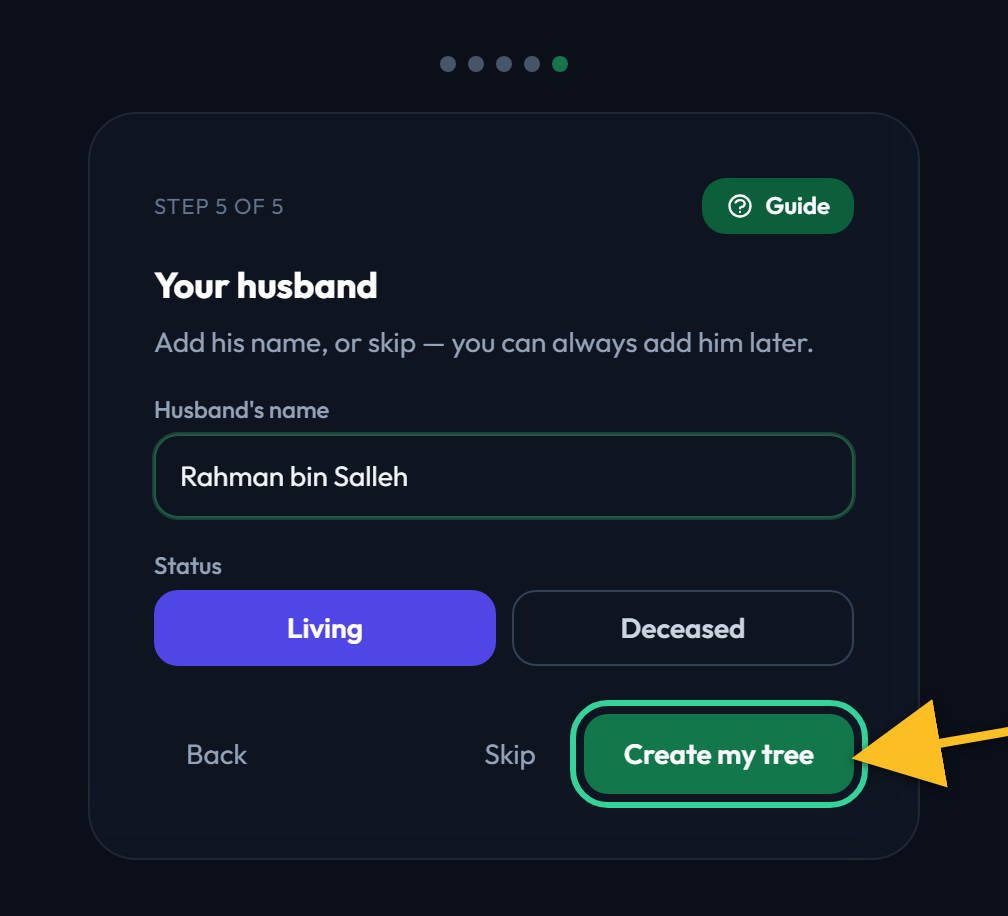
Step 5 of 5 — your spouse, then create
The last question asks about your wife or husband, following the gender you picked in step 1. Skip it if it doesn't apply.
On this final step the blue button changes from Next to Create my tree. That's the one that builds everything.
Your tree is ready
You land on your dashboard
Salasilah doesn't drop you straight into the tree — it takes you to My Family Trees, your dashboard, with a green banner confirming the tree was created and the new card highlighted below it.
Why here? Because this page is the one you'll come back to every time you sign in, and it's the only place you can create or import more trees. Seeing it once, on day one, saves hunting for it later.
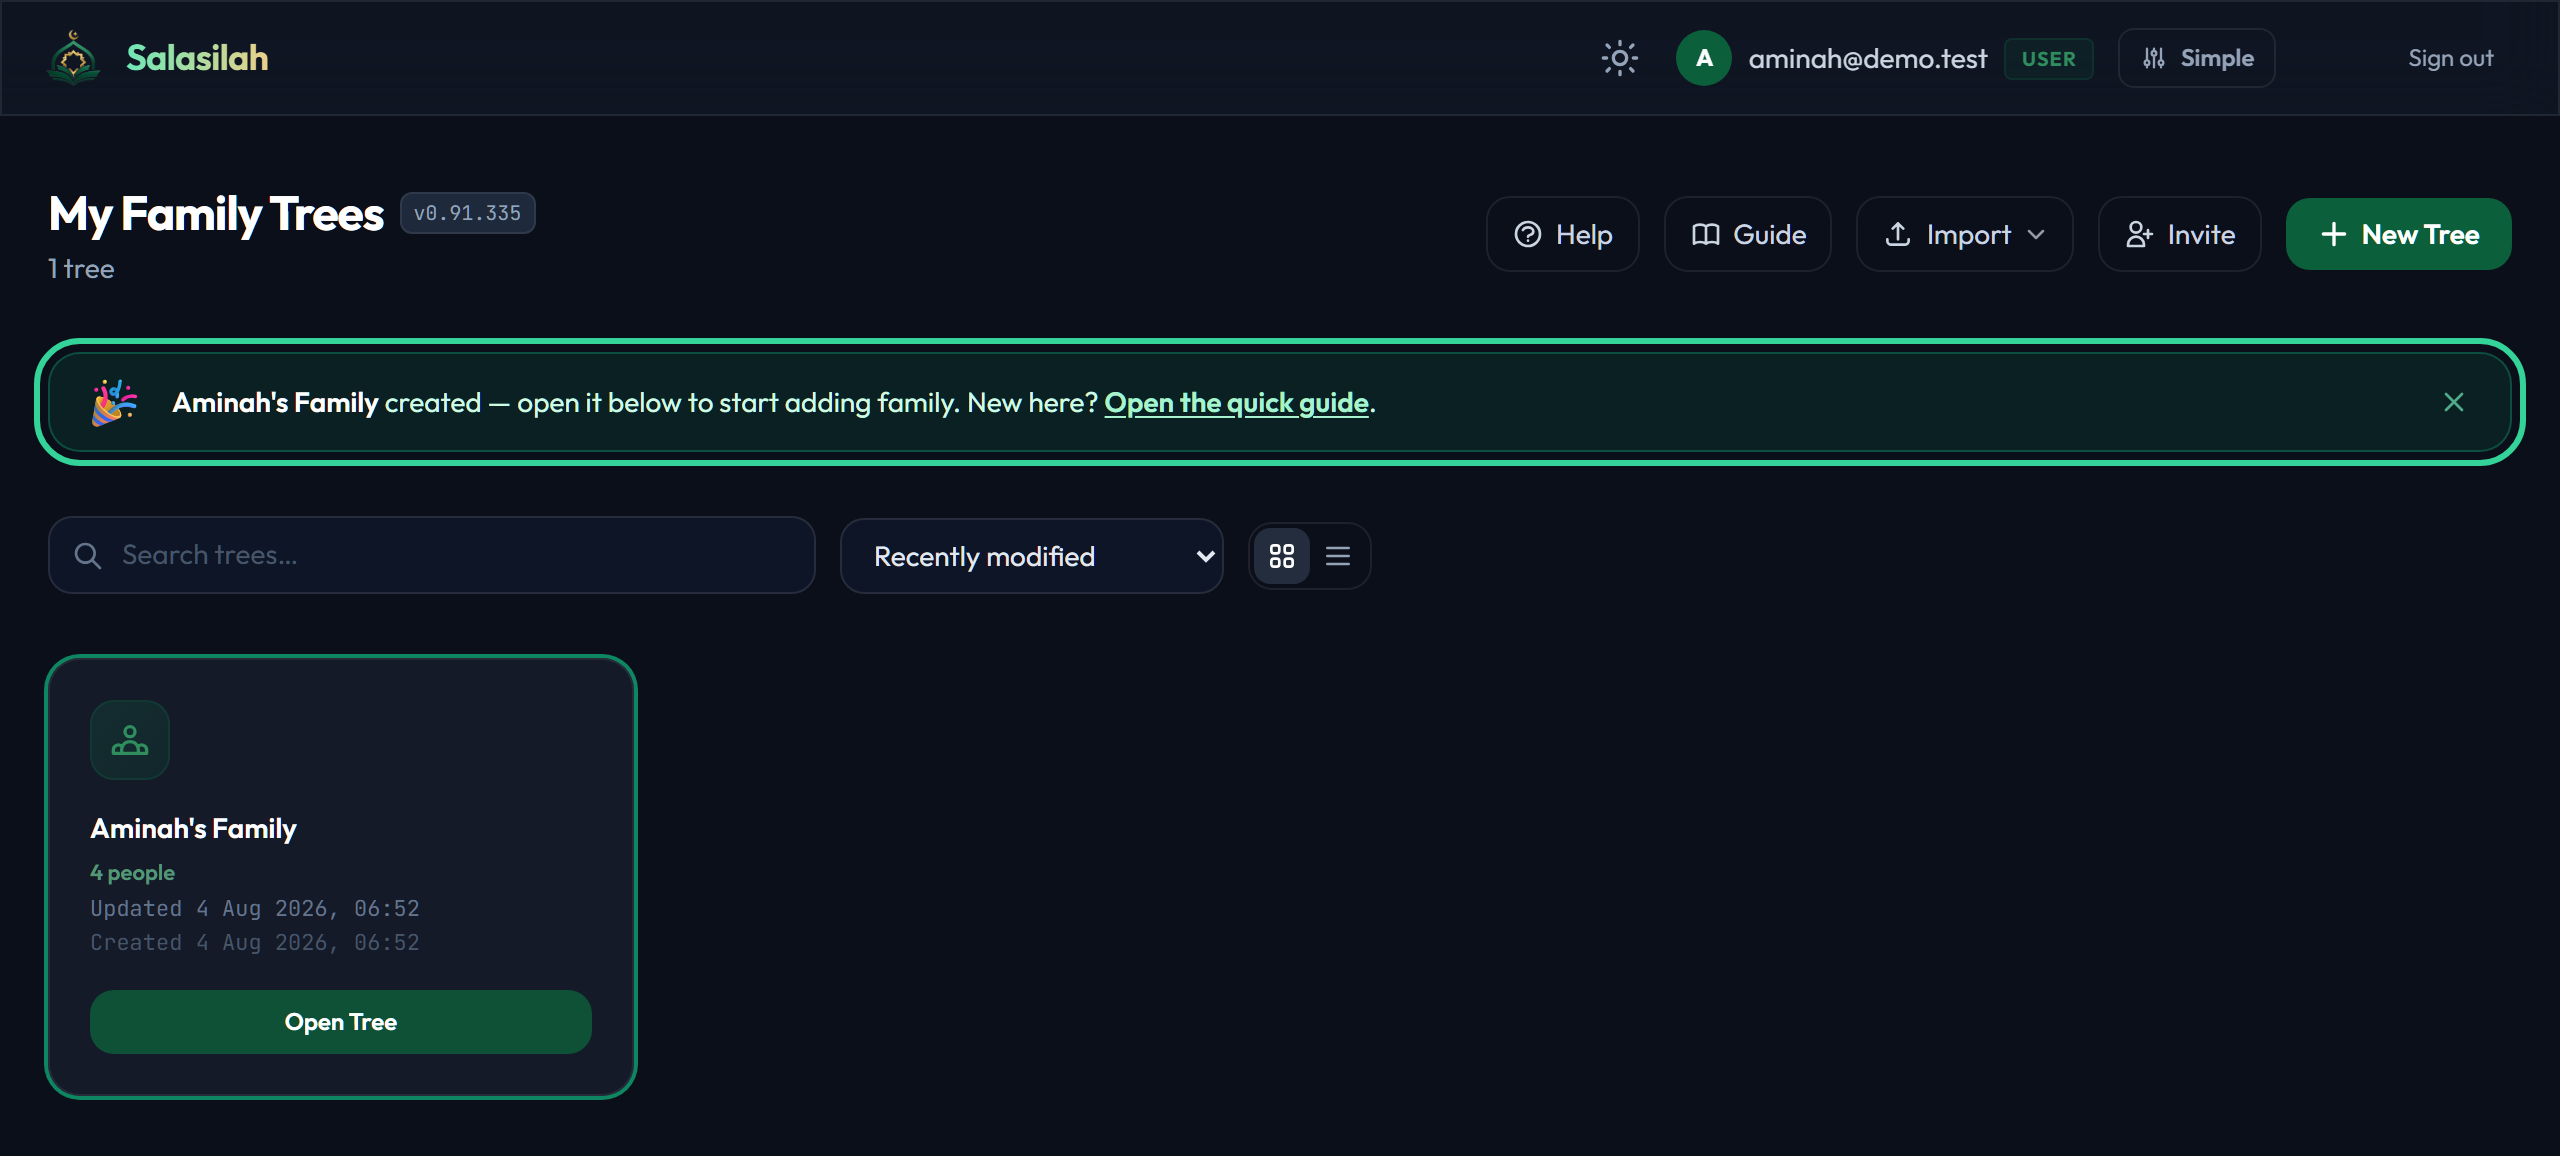
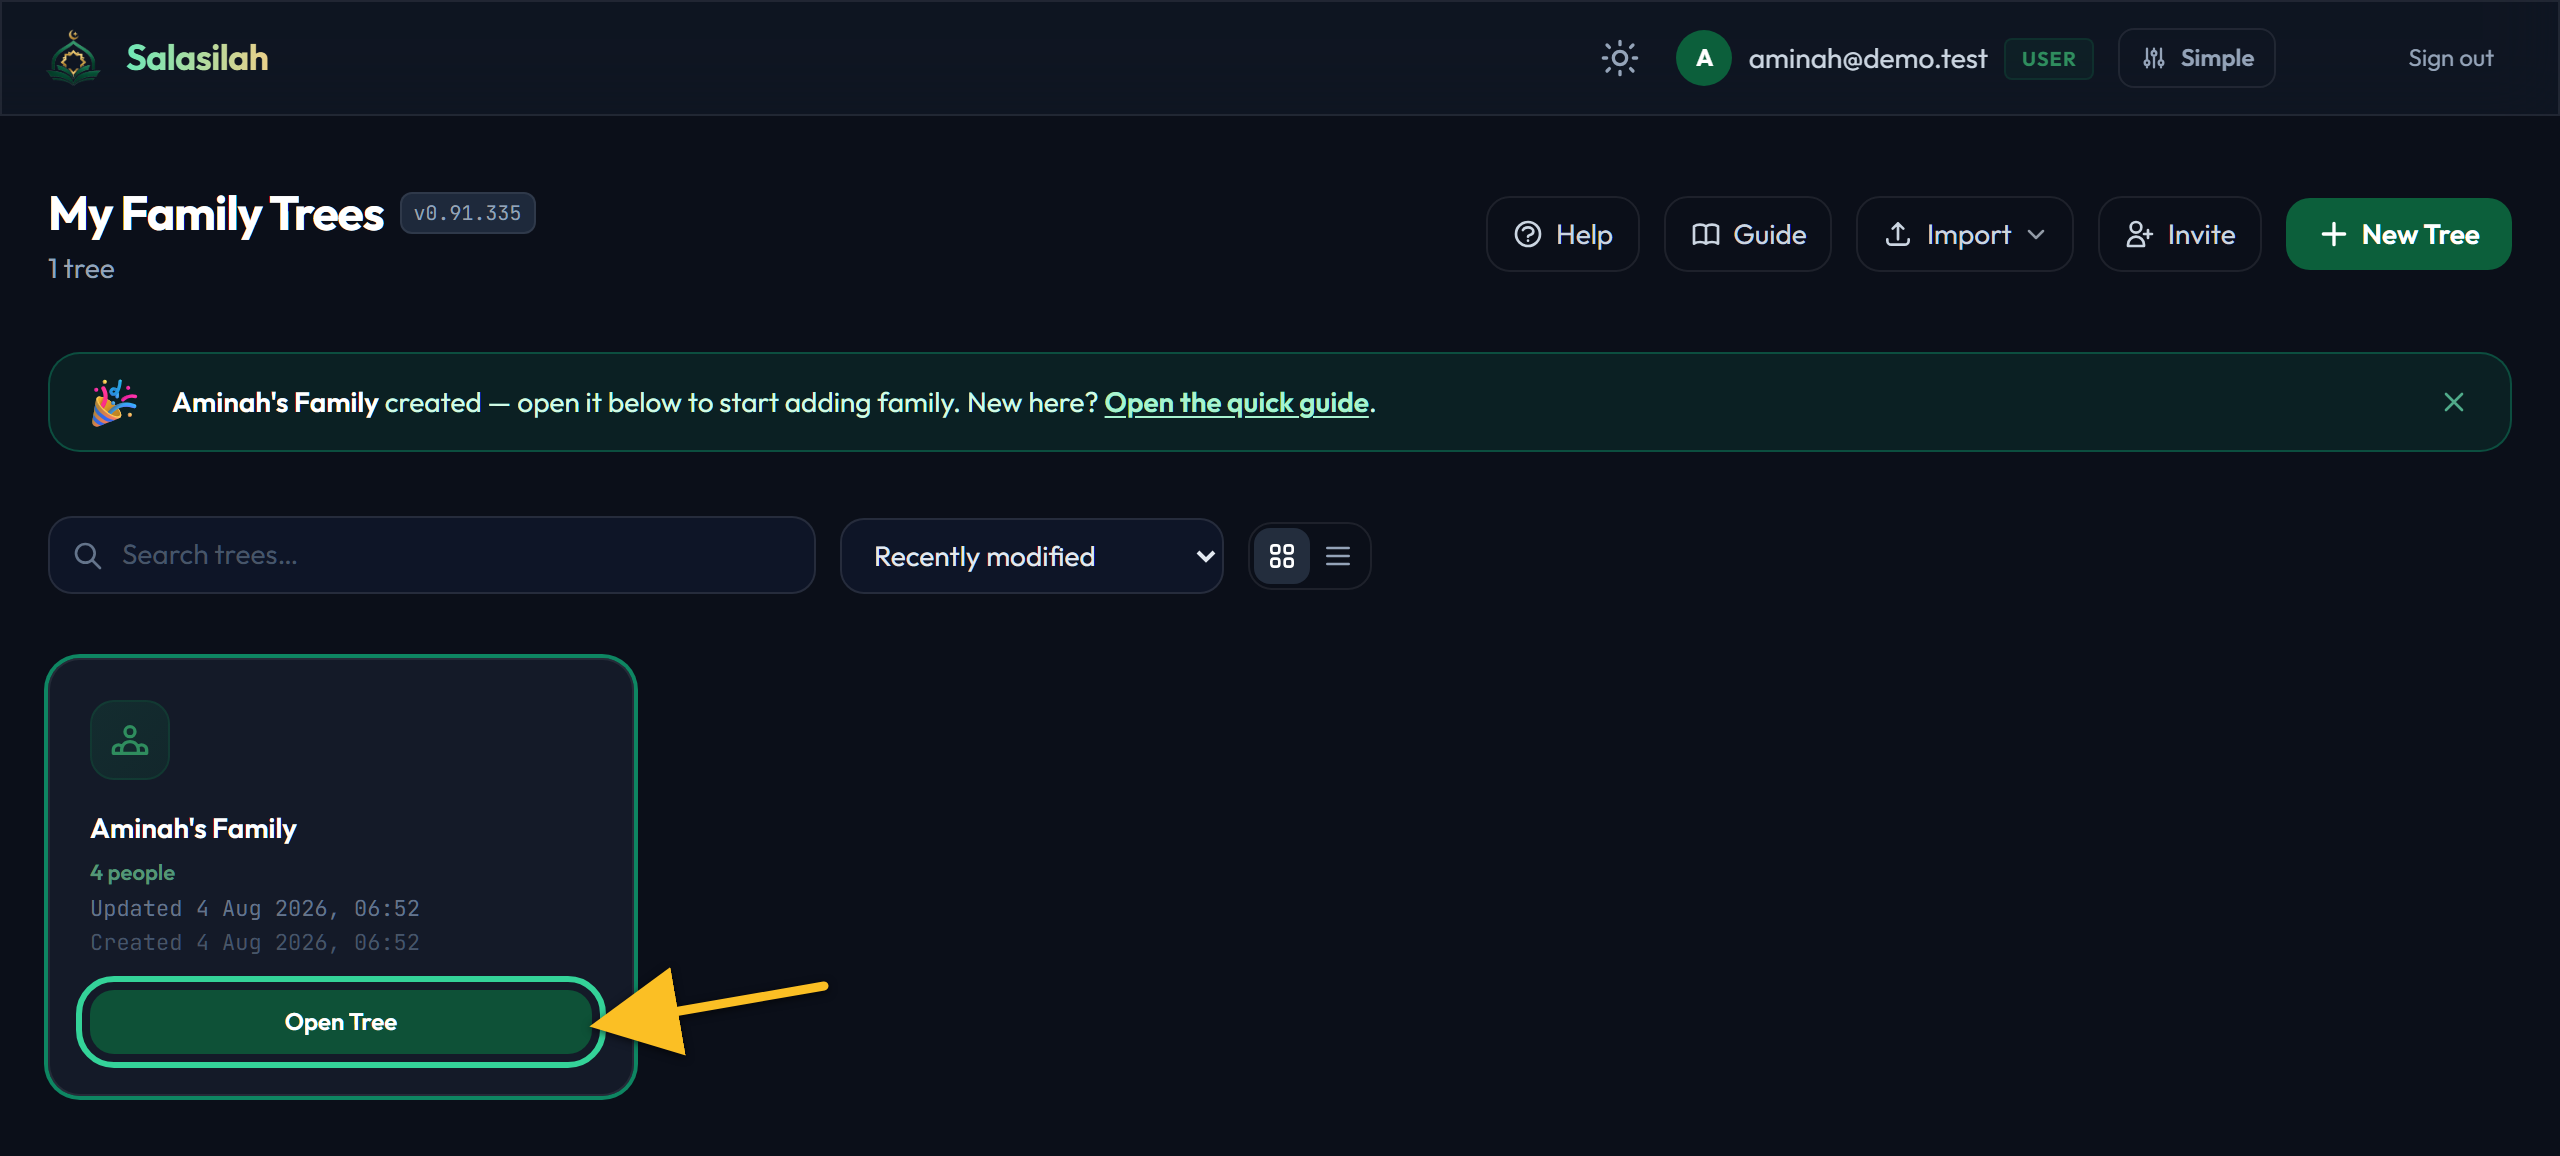
Click Open Tree
The card shows the tree's name and how many people are in it — four, if you answered every question. Click Open Tree (the card's title and icon go to the same place).
There it is
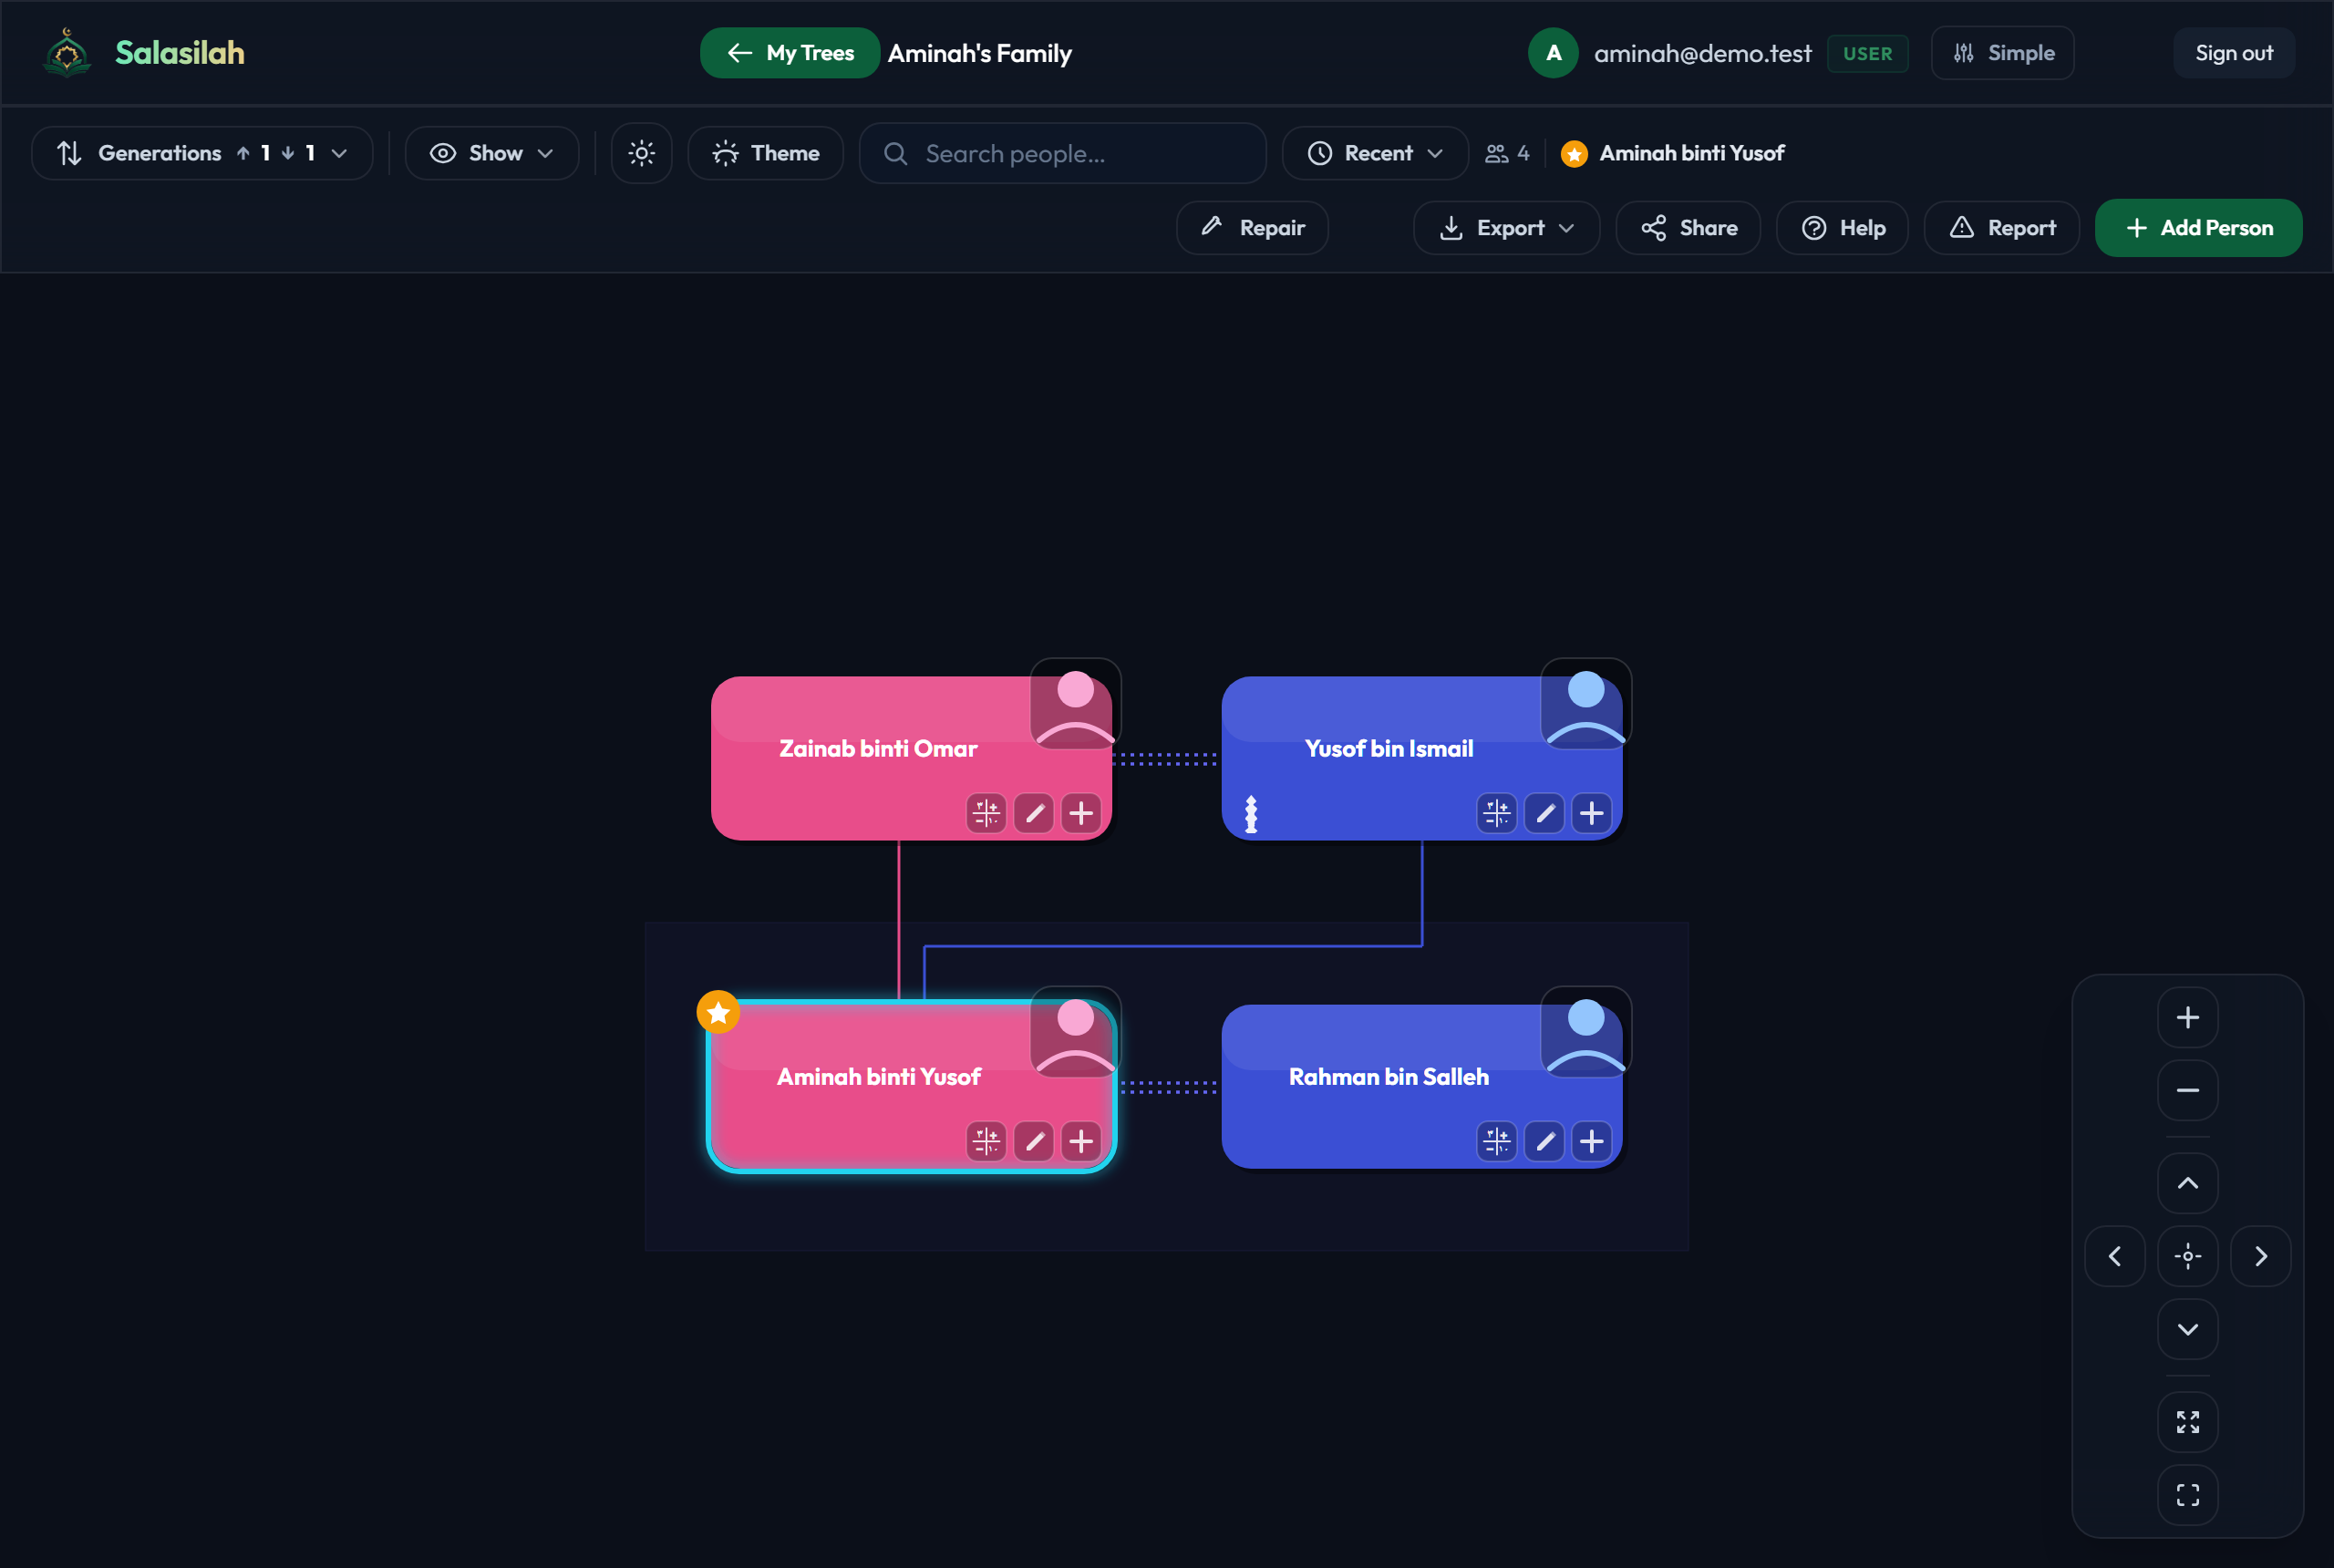
Your tree, drawn from the five answers: you in the centre with a star, your parents joined above you, your spouse beside you. Everything you need next is on this screen — Add Person in the toolbar, or the + on any card to add a relative directly to that person.
On your very first visit a Help panel opens over the tree, explaining how to pan, zoom and add people. Close it whenever you like — Help in the toolbar brings it back, and it's hidden in the picture above so you can see the tree.