Editing a person
Everything the person panel holds — the everyday fields, the ones behind Advanced, photos, and how to close without losing work. Fourth of six guides to the tree workspace.
Opening the panel
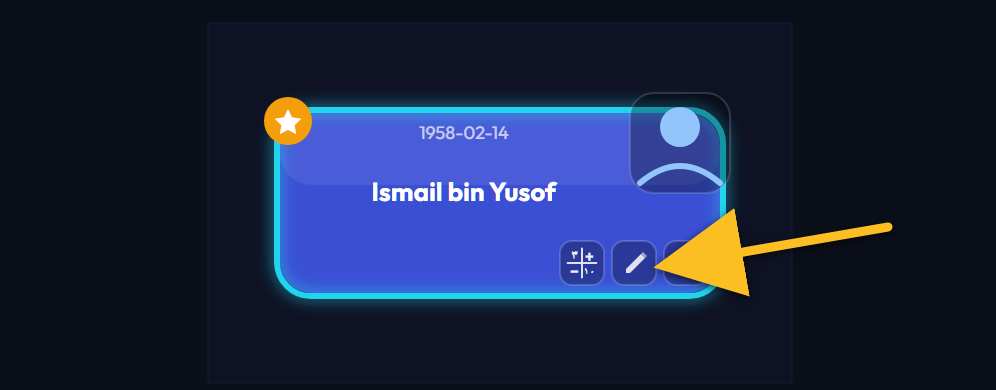
The pencil on a card opens that person's details in a panel on the right. Clicking the card itself re-centres the tree instead — a distinction worth learning early.
The everyday fields
It always opens in Simple
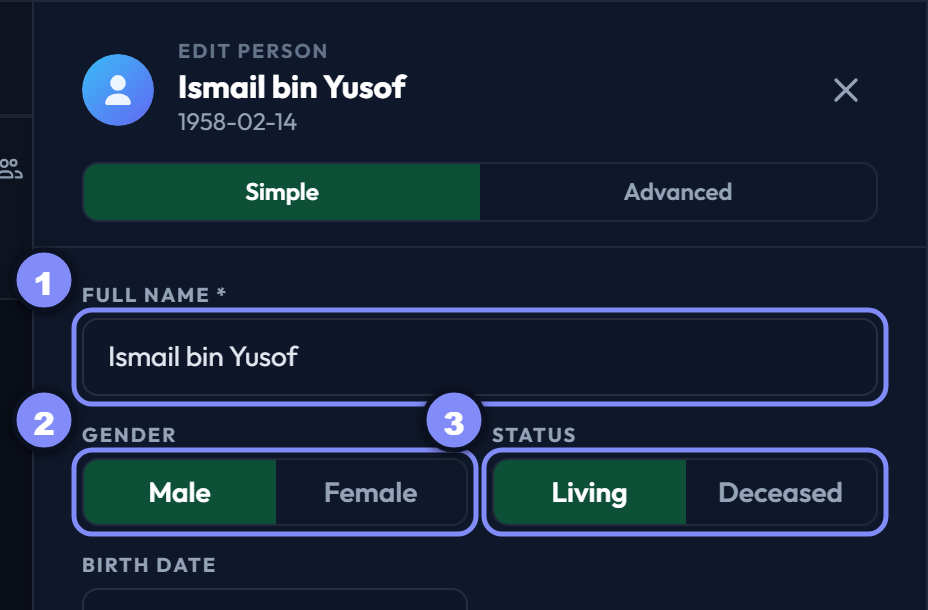
Simple shows the everyday fields and nothing else. That is deliberate: most edits need only the three below it.
Full name
The only required field, and the one drawn on the card. Write it the way your family says it.
Gender
Male or Female. It sets the card's colour, decides where the person sits among relatives, and — because Faraid shares differ by gender — it affects any inheritance calculation they appear in.
Living or deceased
Choosing Deceased reveals the death-date field. It is a status in its own right, so you can mark someone deceased even when nobody remembers the date.
Dates you only half know
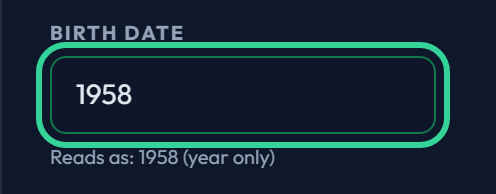
Genealogy dates are usually incomplete, so the date fields take whatever you have: 1958, May 1958, 12/05/1958 or 12 May 1958. A line underneath confirms how it was read before you save.
A year on its own is a perfectly good answer — better than leaving it blank or inventing a day.
Photos
Add and adjust a photo
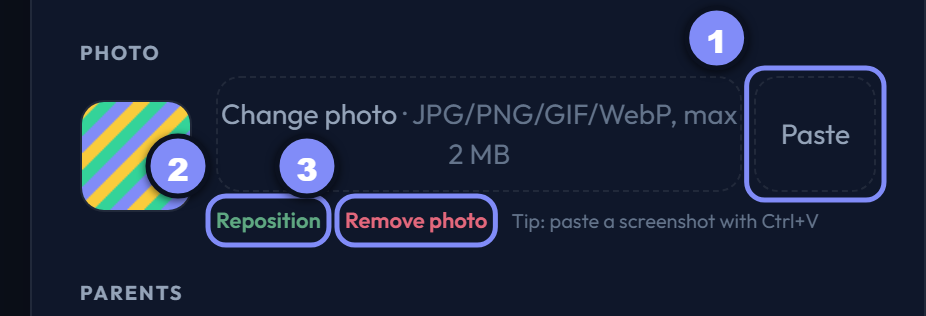
Choose a file, or paste straight from the clipboard — handy for a screenshot or something copied from a message. Once there is a photo you get three tools:
- Paste — replace it with whatever is on the clipboard.
- Reposition — pan and zoom to choose what the round frame shows.
- Remove — back to the silhouette.
Advanced
Switch to Advanced
Reveals the rest of the fields. The panel returns to Simple next time you open it — Advanced lasts for this panel only, so the everyday view stays uncluttered.

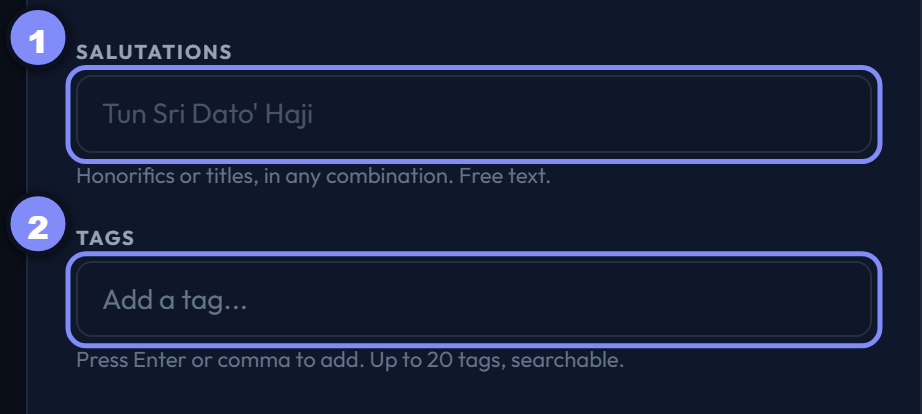
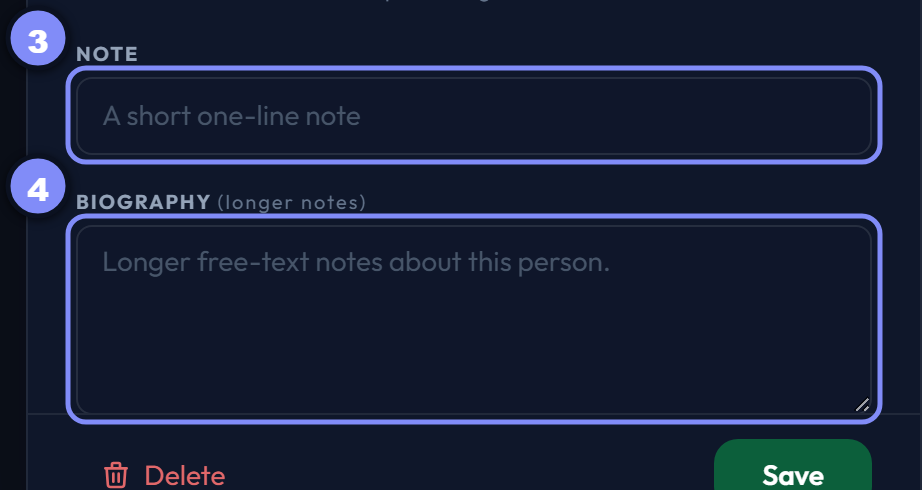
Salutations, tags, note and biography
- Salutations — honorifics in any combination, e.g. Tun Sri Dato' Haji.
- Tags — short labels, up to 20. Tags are searchable and can filter the people list.
- Note — a one-line caption.
- Biography — longer free text, as much as you like.
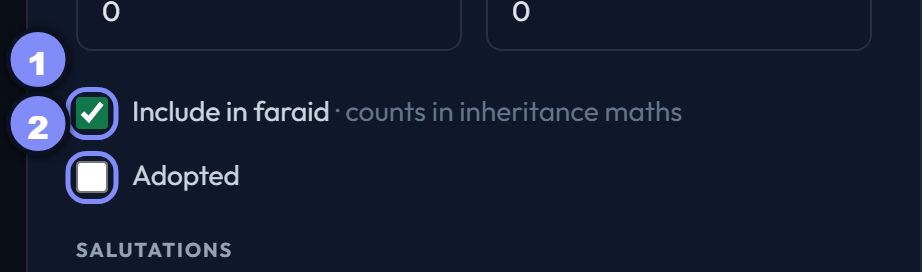
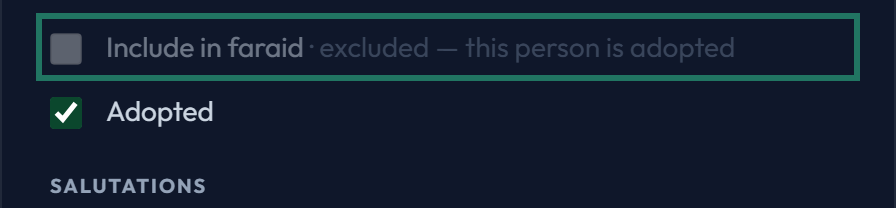
Include in faraid, and Adopted
Include in faraid is on by default; turn it off for someone recorded for lineage only, and the inheritance maths will ignore them. Adopted marks an adoptive relationship.
- Include in faraid — ticked, as it is for every new person.
- Adopted — off unless you say otherwise.
Display order
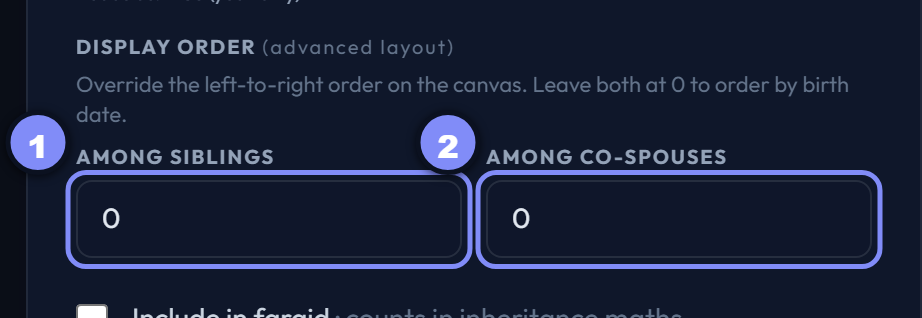
Two numbers that override left-to-right position on the canvas: among siblings and among co-spouses. Leave both at 0 to order by birth date, which is what you want almost always.
Reach for these when birth dates are unknown and the drawn order looks wrong.
Finishing
Save
Writes the changes and redraws the tree. Both buttons sit at the foot of the panel, where they stay put however far you scroll.

Closing without saving
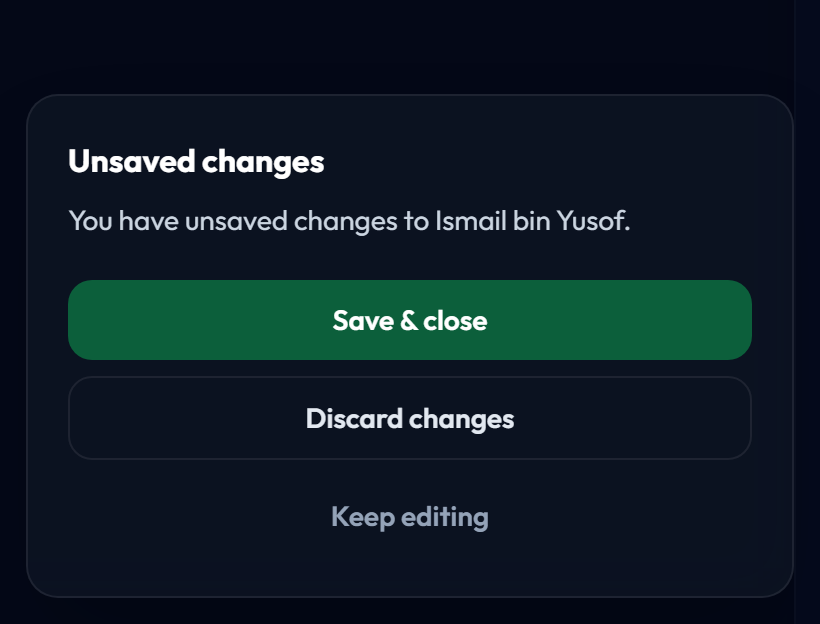
Closing with the × while something is unsaved asks first, so a stray click cannot lose your typing. Keep editing is the way back.
Delete a person
Removes them from the tree entirely.